Create and Assign a Role-Specific Sidebar

Anke
Last Update 2 years ago
What is this article about?
- Learn how to set up individual sidebar configurations for the different users and roles within your organization
Who is this article for?
- Account admins who customize and manage the Logward Platform on behalf of their organization, as well as platform users with the permission to create user roles and invite users to the Platform
Introduction
The left-hand sidebar on the Logward Platform provides users with direct links to tables, reports, functions and features of their account.
Account admins can configure and assign role-specific sidebars. This is especially recommended for roles that only have access to a small subset of tables and functions, to help them identify the areas that are of actual interest and accessible to them.
Step-by-Step Guide
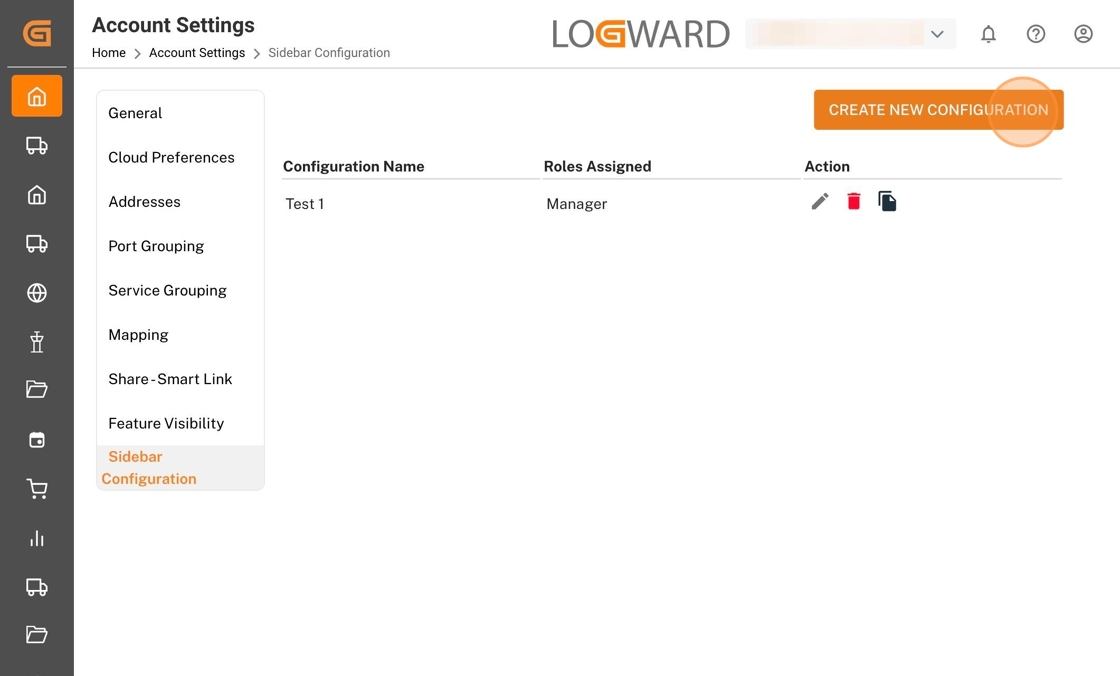
1. Access the Sidebar Configuration in the Account Settings

Access the menu 'Sidebar Configuration' from the internal sidebar, then click the 'Create New Configuration' button:
2. Select tables and functions from Account Level Elements
Within the configuration window, the lefthand side reflects all tables and functions of your account. Use the checkboxes, to mark all items that should be available on the role-specific sidebar, then click on the arrow to copy your selection to the righthand side:

3. Refine Sidebar Configuration Options for the Role
Once you have assigned some elements to the role-level sidebar, you can further specify configuration permissions via checkboxes on the right:
- Unselecting 'Enabled' for an element will hide it from the role's sidebar
- Unselecting the checkbox 'User Configurable' will prevent users from changing the name of the sidebar-element, a well as its position and visibility on the sidebar (without affecting the role's access and editing permission for the function itself)
You can also change the sequence of sidebar items, by clicking and holding the three horizontal lines on the left of the element name and dragging it to a new position.

4. Add and Group Sidebar Elements
Via the 'Add option' on top of the configuration window, you can assign elements that are not part of the default account-level sidebar.
For example, refer to our guide on how to link a preconfigured list view to the sidebar.
Via the 'Add group' button, you can create a new sidebar category. Once the new category appears under the role-level elements, use the 'plus' icon in the 'Actions' column to assign tables or features as child elements to it.
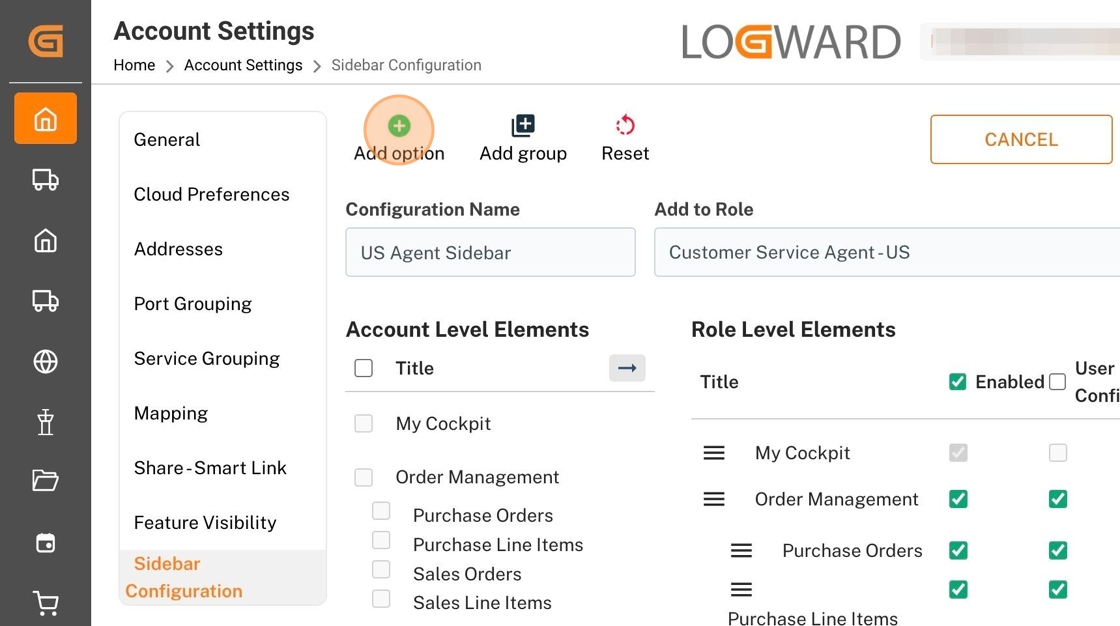
5. Assign the Sidebar to a Role
Before saving your work, don't forget to set a name for this sidebar configuration. You can also assign the role, for which this particular sidebar shall be visible, right away:

That's it! You successfully created a sidebar configuration.
In case you have not assigned a role, you can return and edit your configuration at any time, or add the role-specific sidebar configuration while creating the user role.