How to split Purchase Orders

Rashi Shah
Last Update 6 dagen geleden
What is a Split Action?
Note: Actions can be created only by admin users, other users can run them.
What are the components of an action?
- Action selection: This is available in the Grid view. Also, as a shortcut button in the Home tab.
- Action Crud UI: This is available in the Configuration UI under the Edit Tab in the Grid view.
FOR ALL USERS
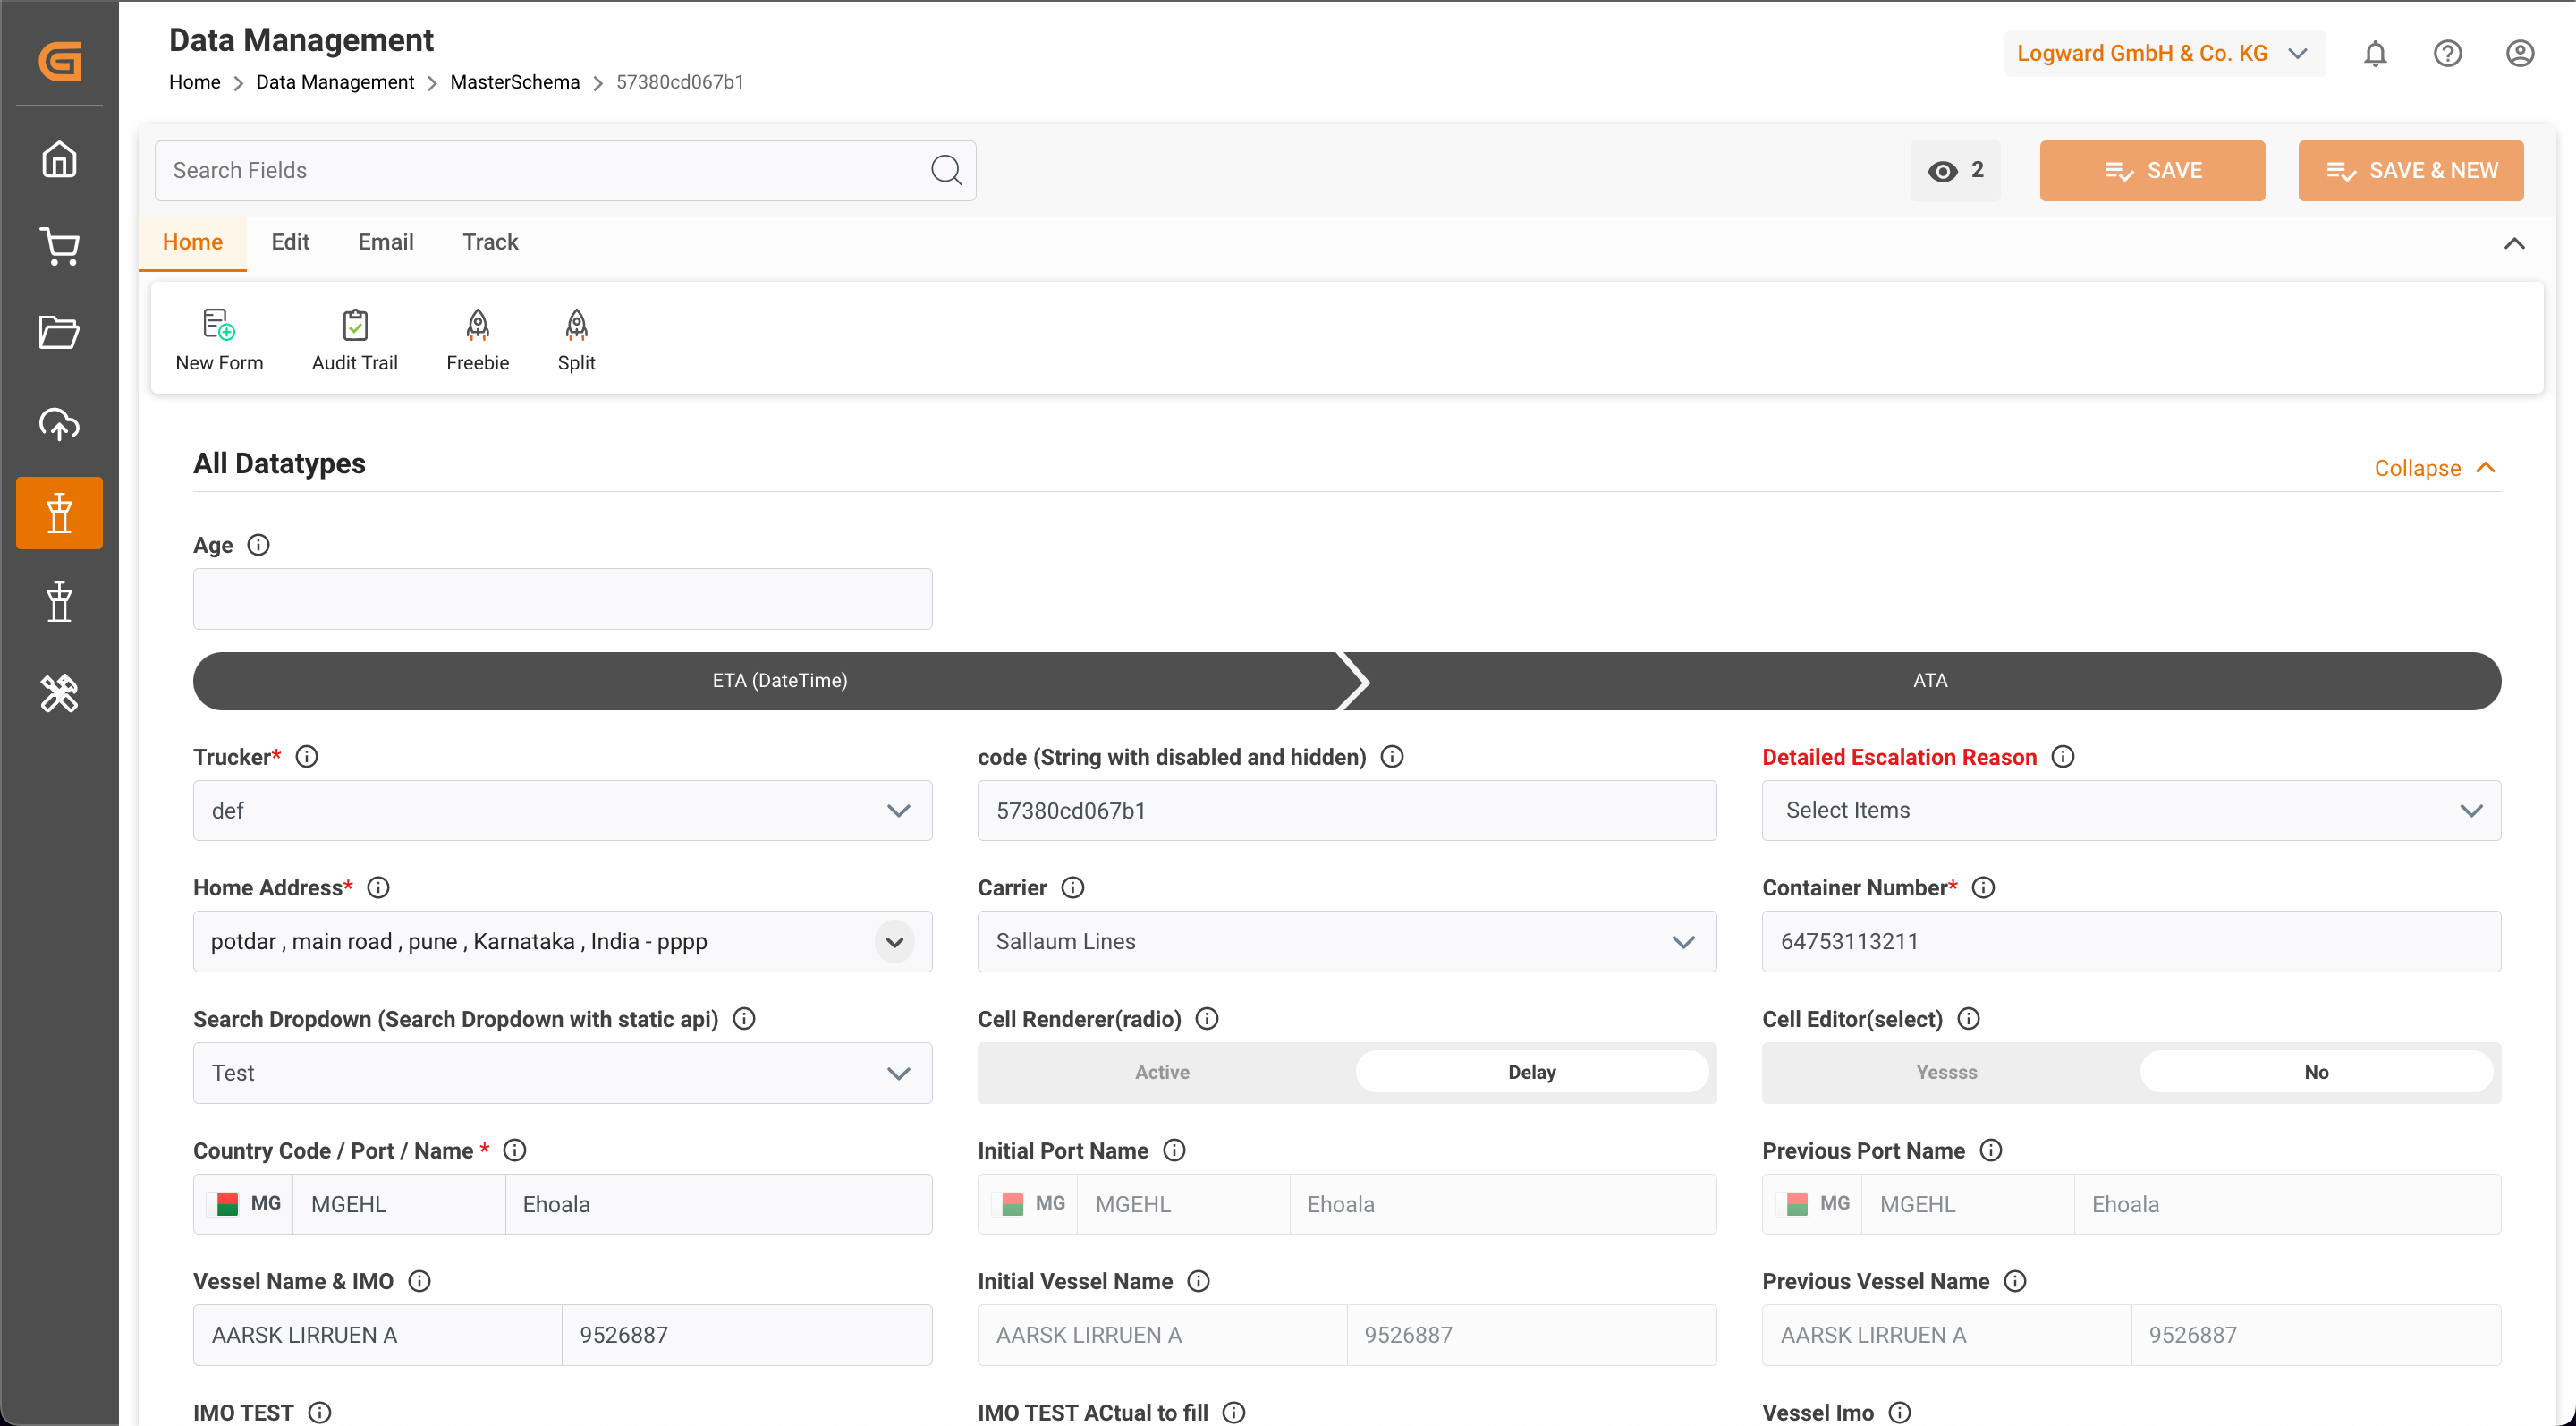
How to apply an action?
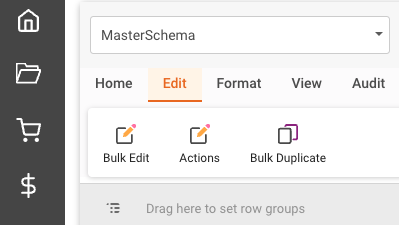
Access your orders from the sidebar on the left side of the screen. Choose your table, click on the Edit tab and then on "Actions" to apply an action.
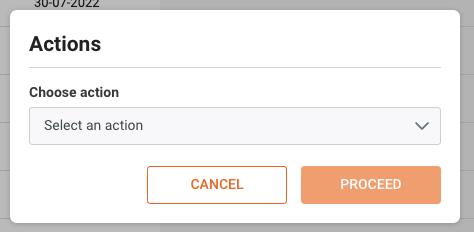
When the dropdown opens, select the split action, fill out the required fields, and select where you want to apply the action. Then click on "PROCEED" and confirm your split action.
A message on the top right corner will let you know that the action was run successfully.
FOR ADMIN USERS
How to configure actions?
Instructions for Configuring actions, in particular the Splitting Action
Access Data Management from the sidebar on the left side of the screen. Choose a table, click on the Edit Tab and then "Configuration". Select "Actions" and "Add New Action".
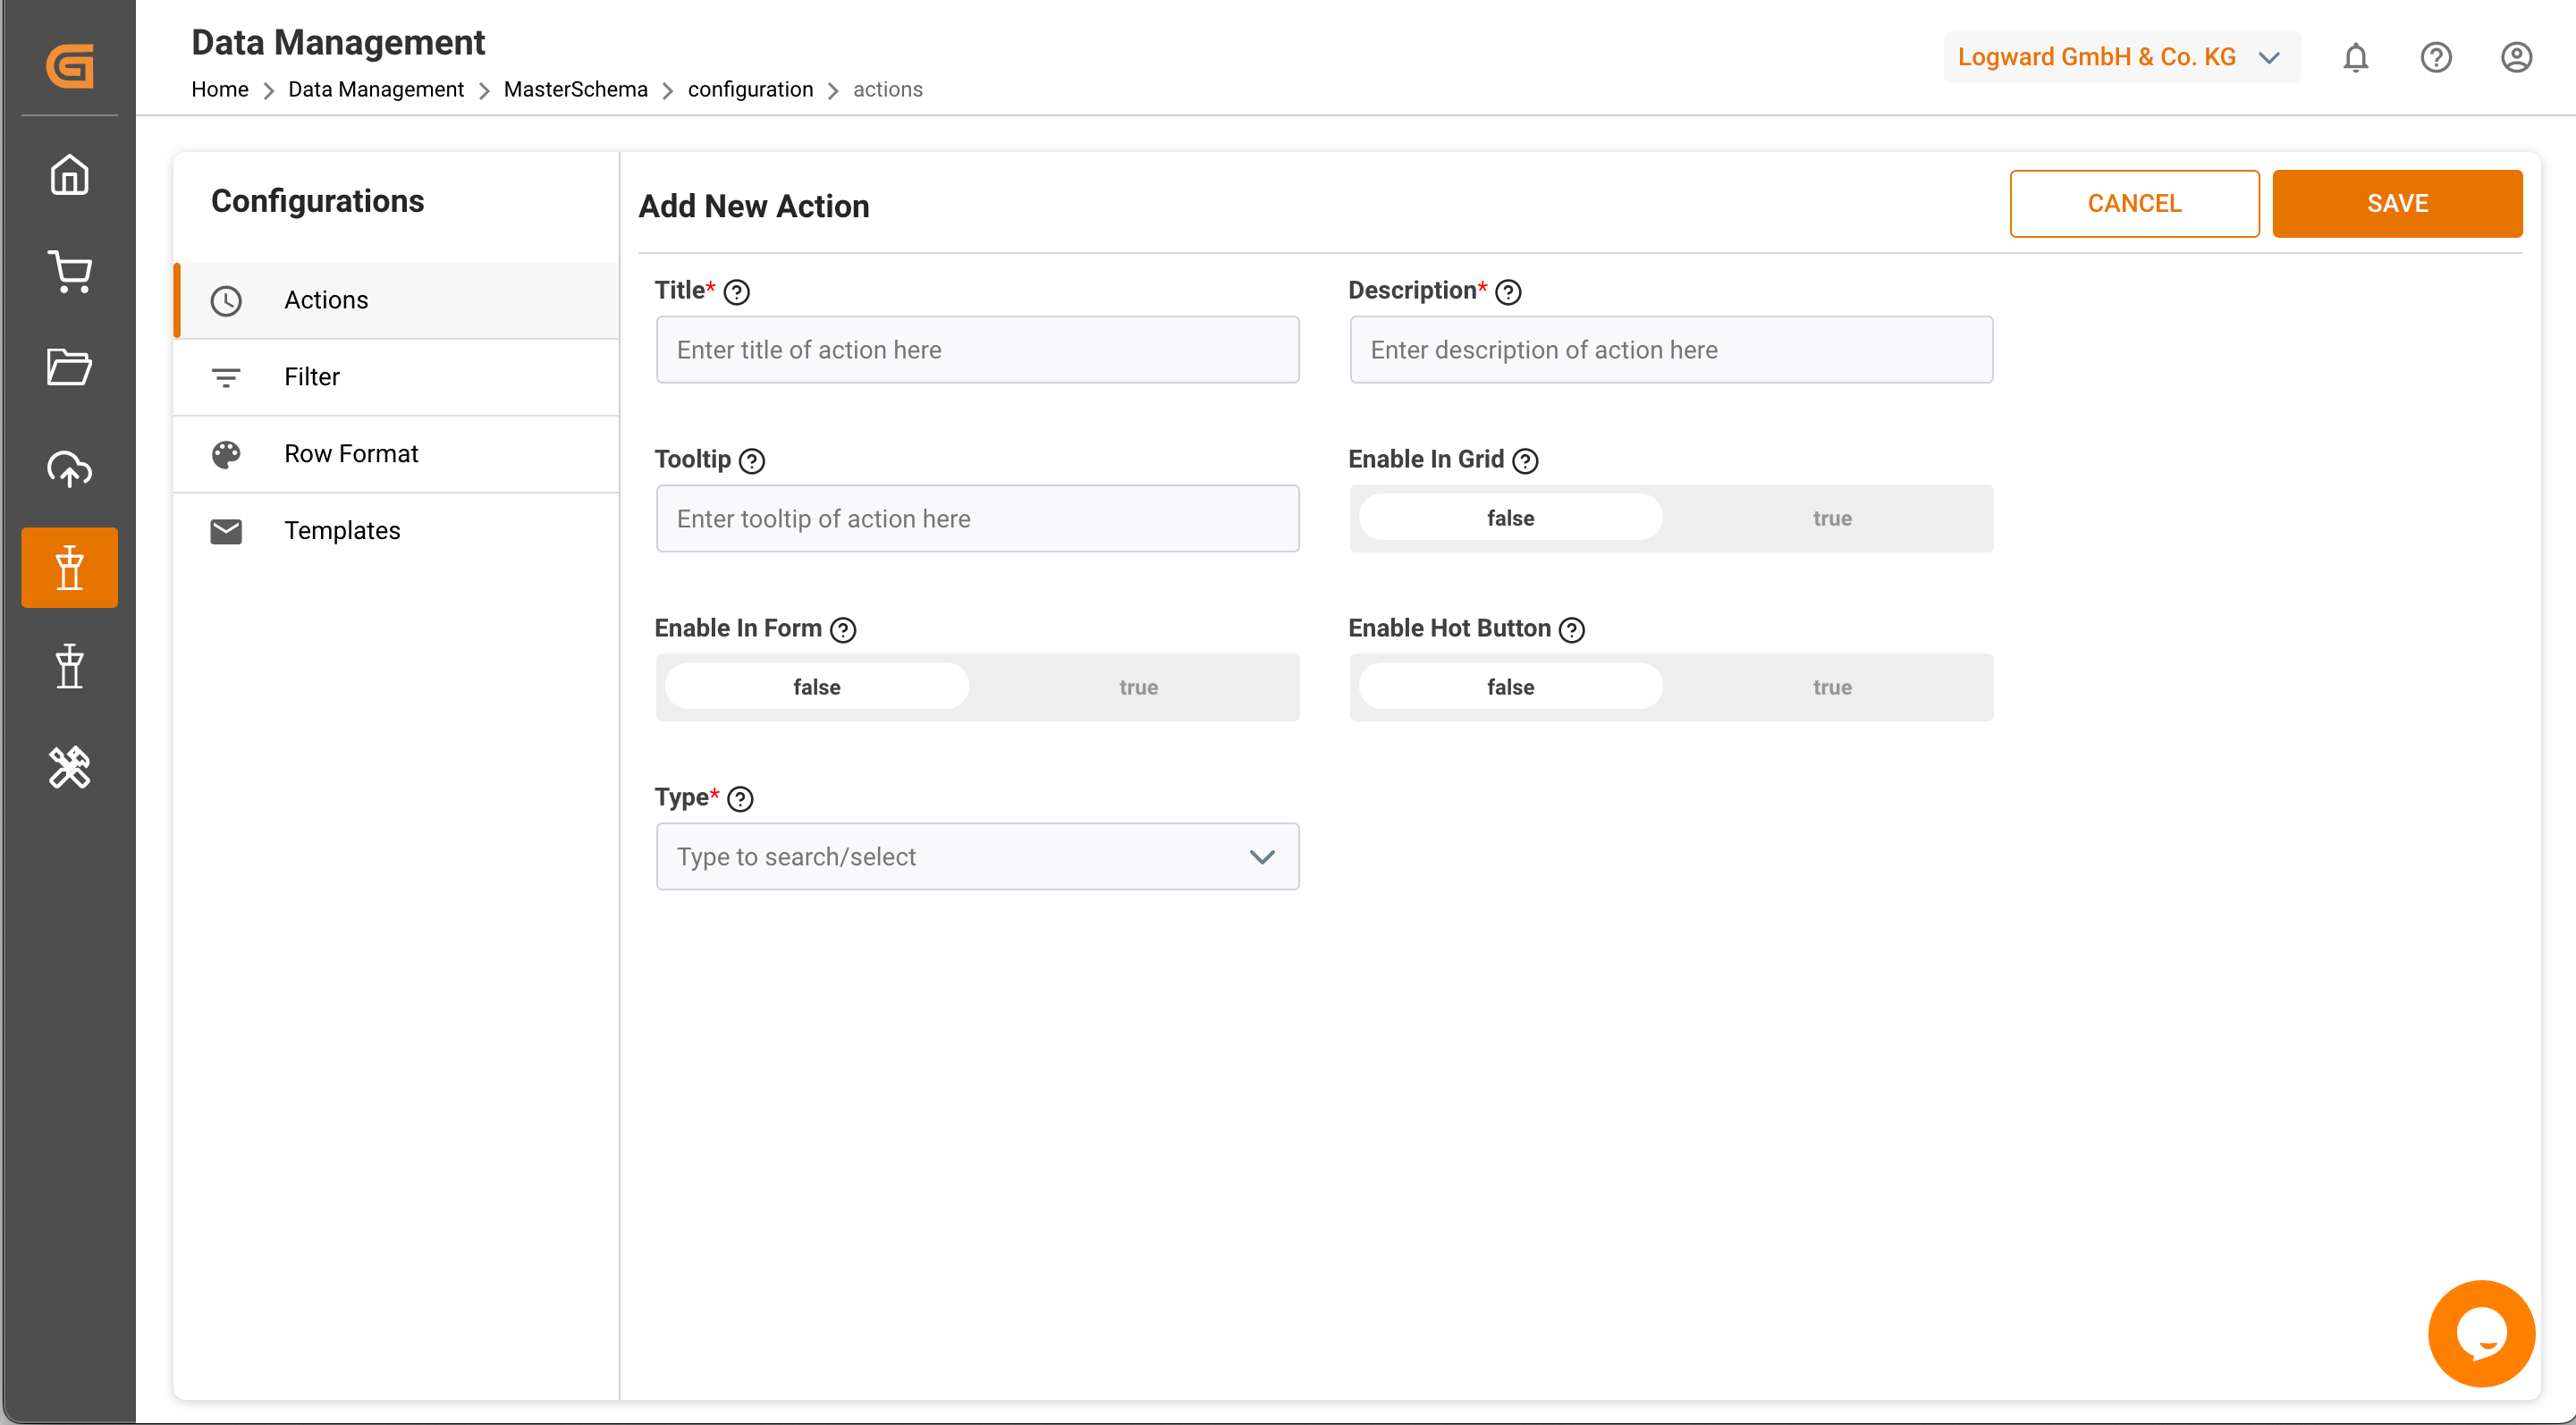
Add New Action
- Title: Enter the name of the action, for example, “Split”.
- Description: Enter a brief description of what you want to do using this action. In this case, it can be “Splitting line items of one PO”.
- Tooltip: Although optional, it will help you remember what you have configured in the action (e.g. “Split by quantity”).
- Enable in Grid: Setting this to “True” adds this action to the list of all the actions in the Grid View inside Data Management > Edit Tab. All users can select the line items and then choose an action from the list to run on those line items. Setting this as “False” ensures that the name is not visible in the list of actions in the Edit Tab of the Grid View.
Note: For the split action, setting “Enable in Grid” to “True” is the best choice, since users may have to choose more than one line item from the schema if they are to be split on the same variable/key.
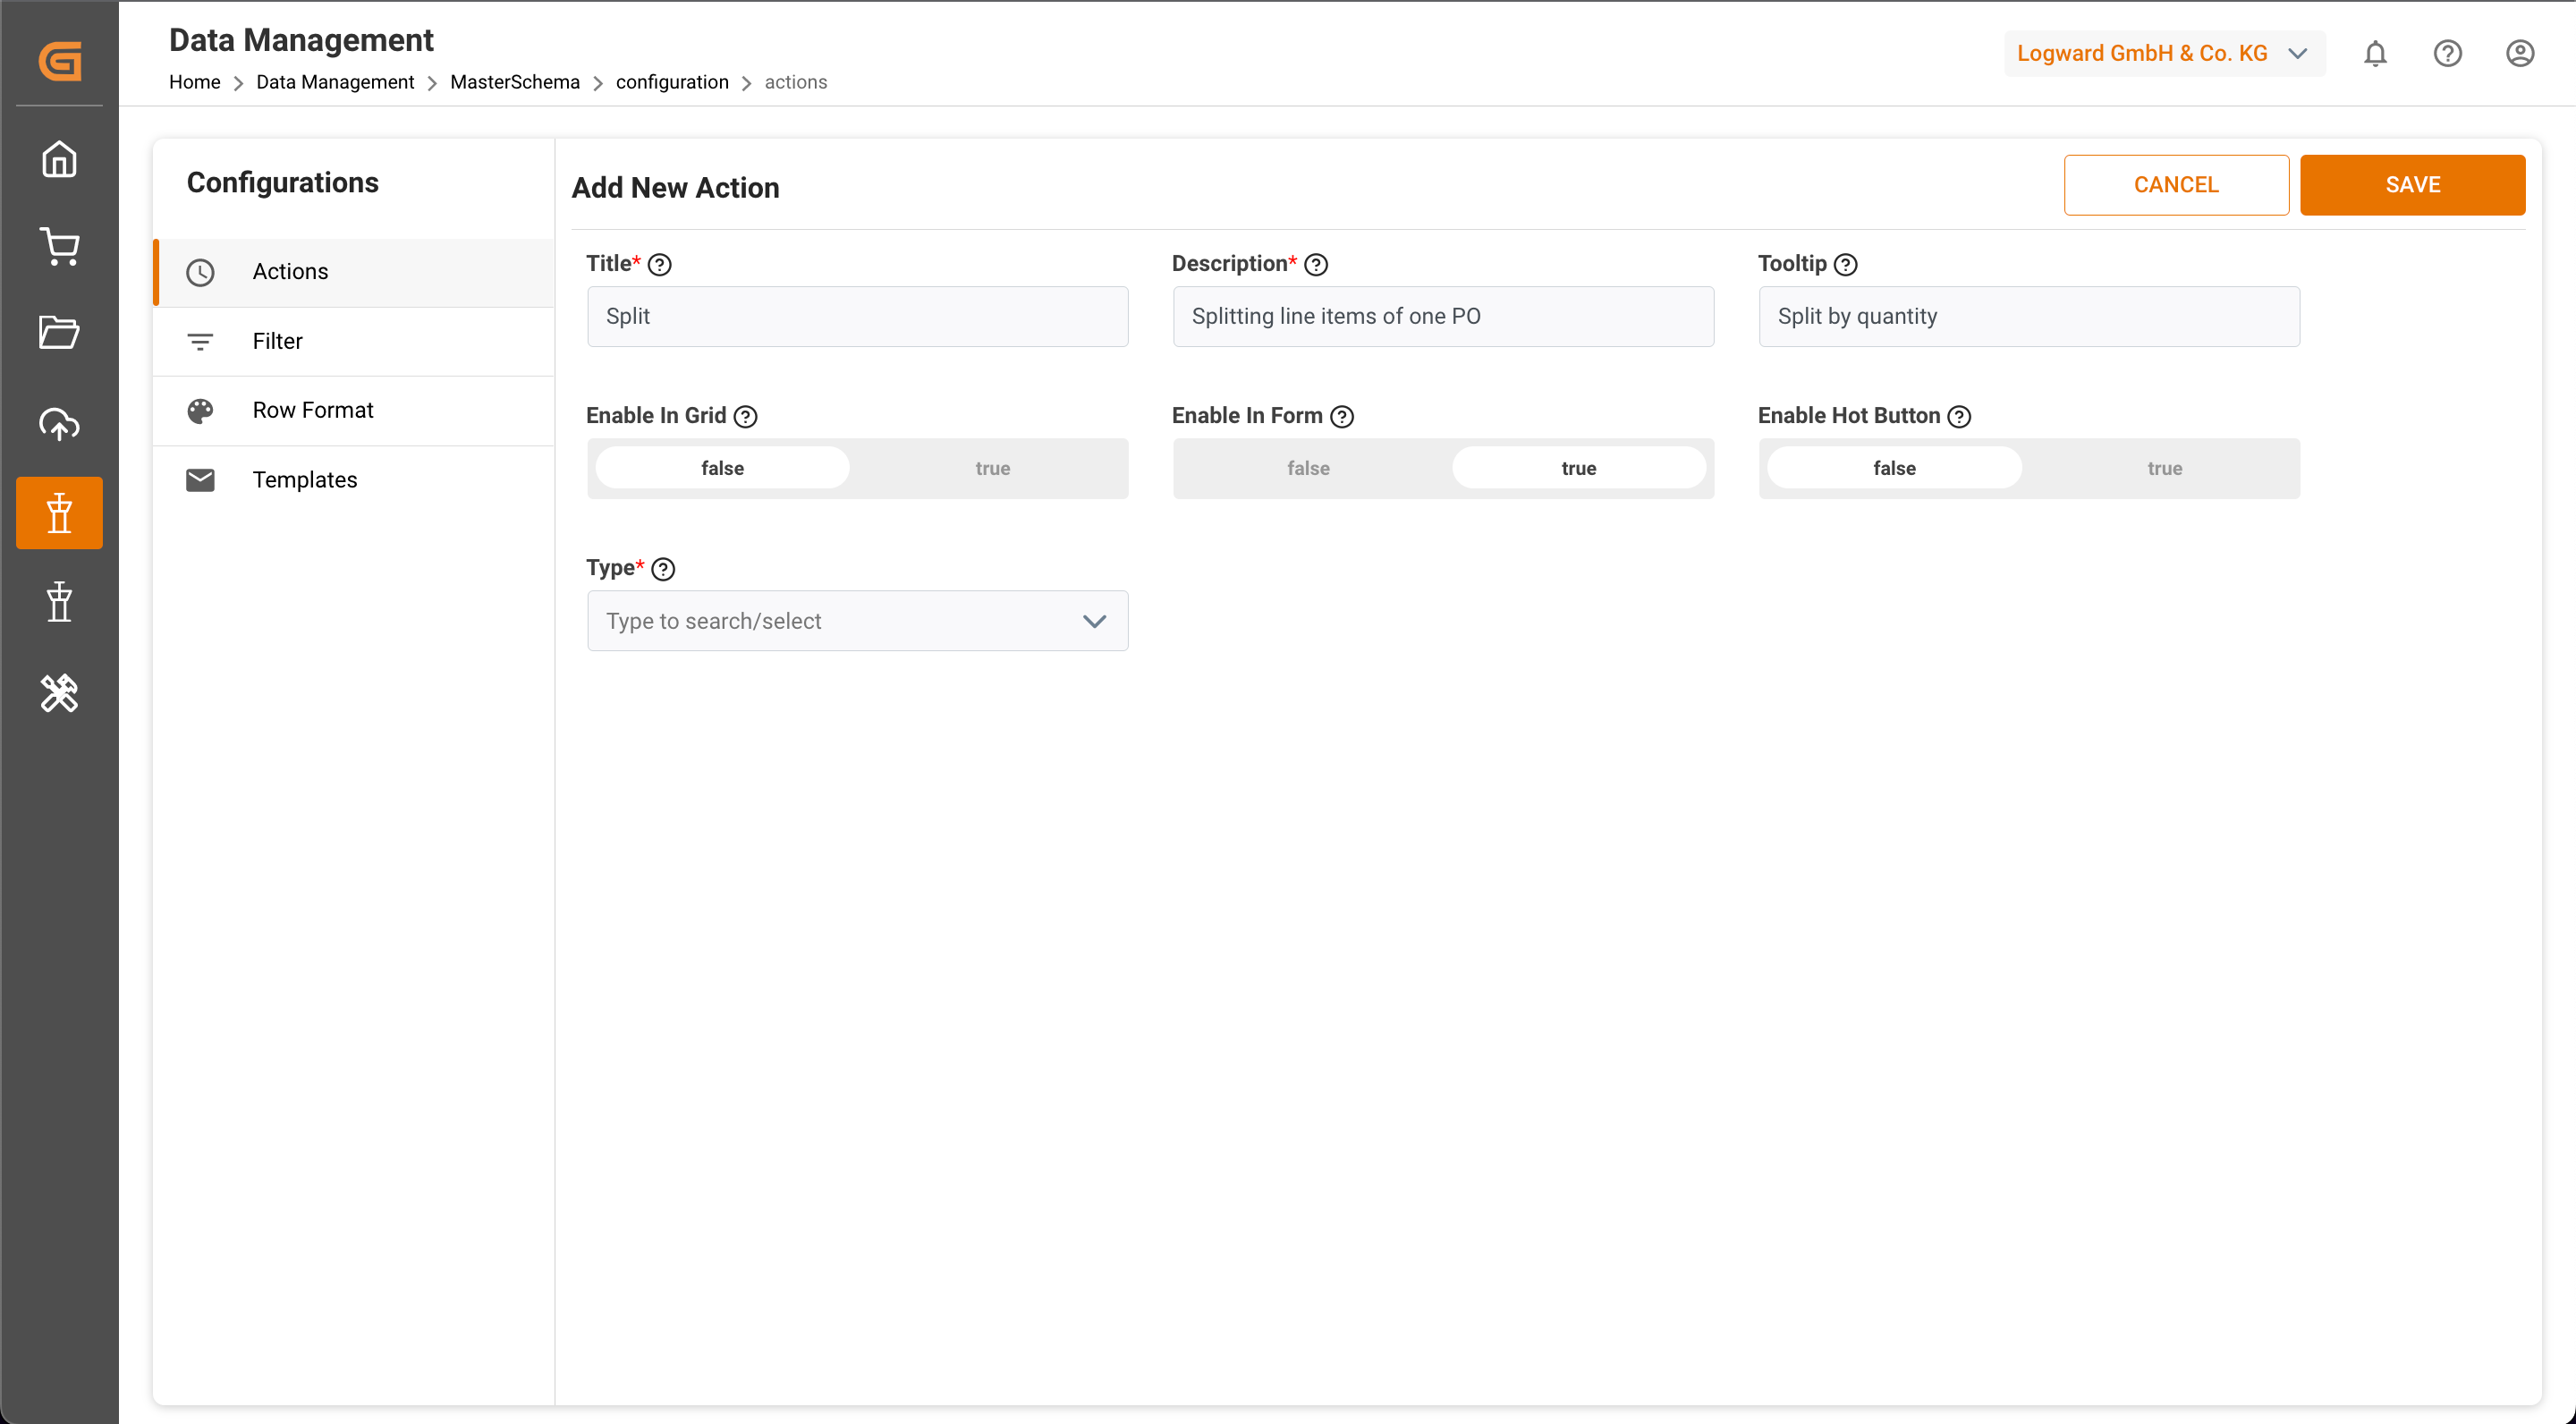
Add Basic Details
5. Enable in Form: When this is set as "True", this action appears in the list inside Edit Tab > Actions of each object in that table. When this is set as "False", the action is not shown in the action list inside Edit Tab > Actions of the objects in the table.
Note: Setting both Enable in Grid and Enable in Form as ‘False’ should not be valid. It will be equal to user not seeing the action. So, at least one of these two fields should be "True".
For Splitting, keeping Enable in Grid = True and Enable in Form = True is the best choice as there might be more dynamic keys to be taken care of inside an object which needs to be split.
6. Enable Hot Button: Setting this as "True" creates a hot button in the Grid View inside the Home Tab or inside an object depending on which is set "True". If Enable in Grid = True and Enable in Form = True, the hot button is created in both places.
Enable in Form = True and Enable Hot Button = True
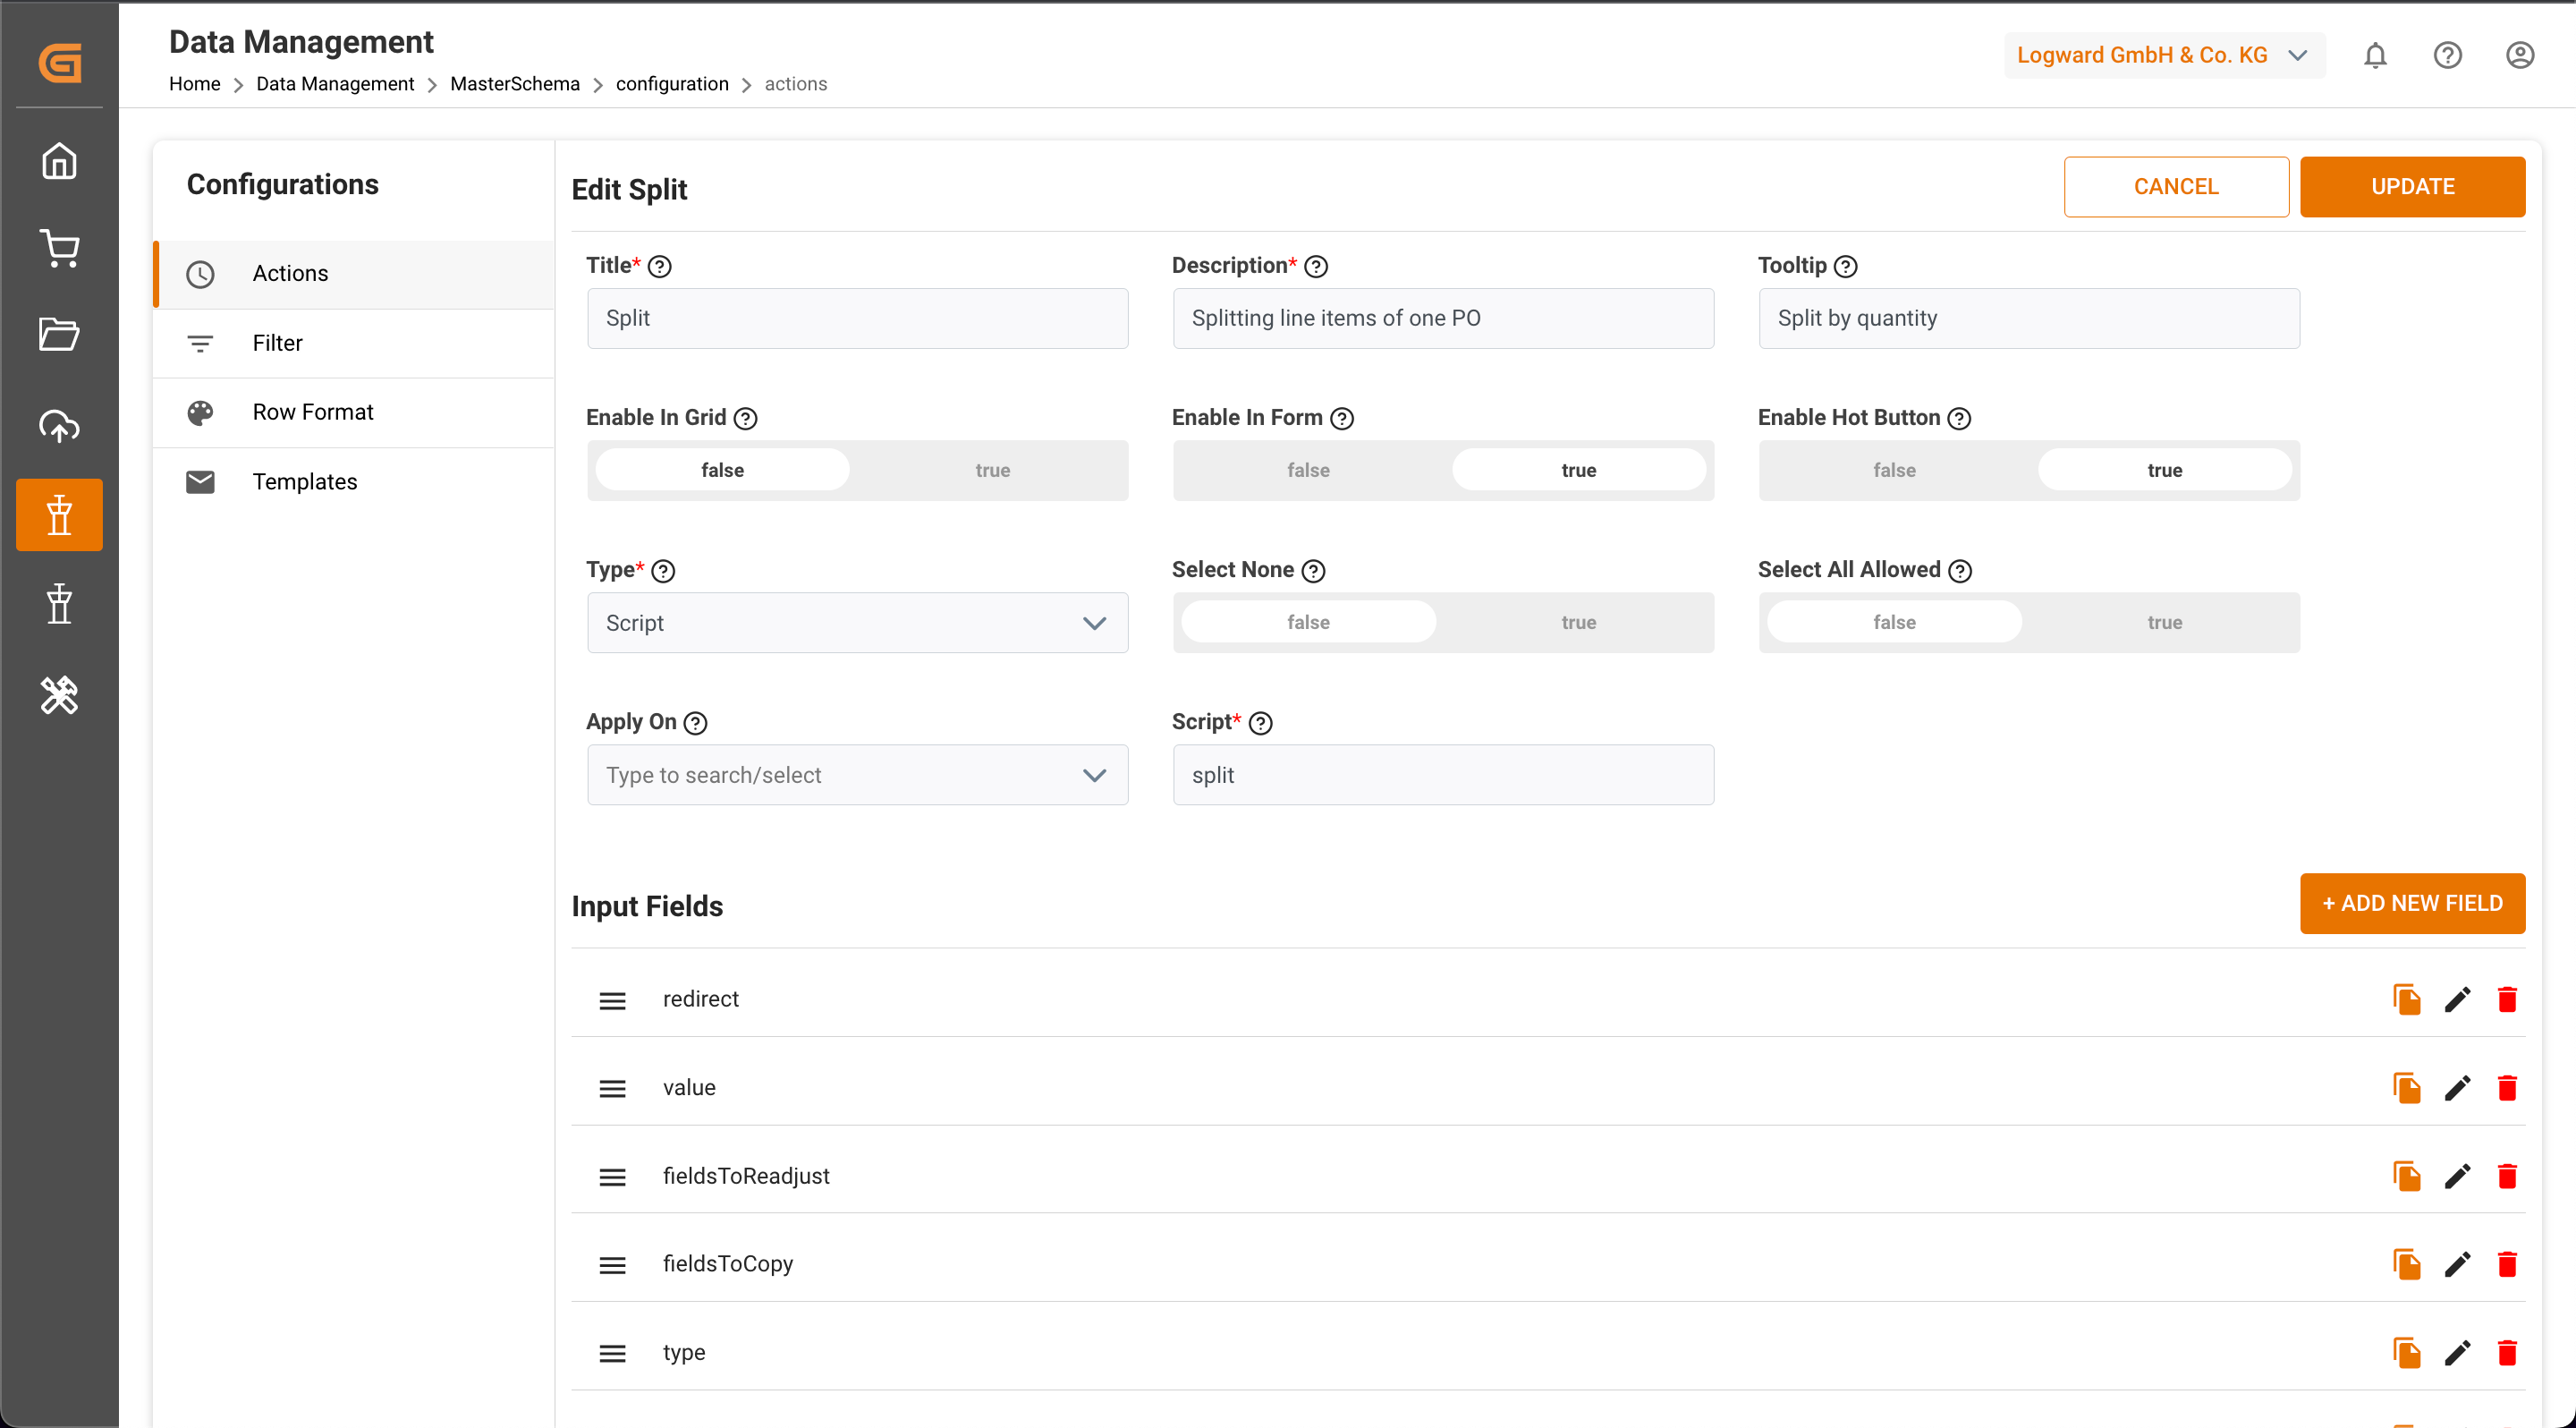
7. Type: Actions have either a script or a link to redirect to. For the split action, choose "Script" from the dropdown because Logward's engineering team has built a script for the Split action and there is no external link that is needed to redirect to. This opens up some fields to fill out, as shown in the image below:
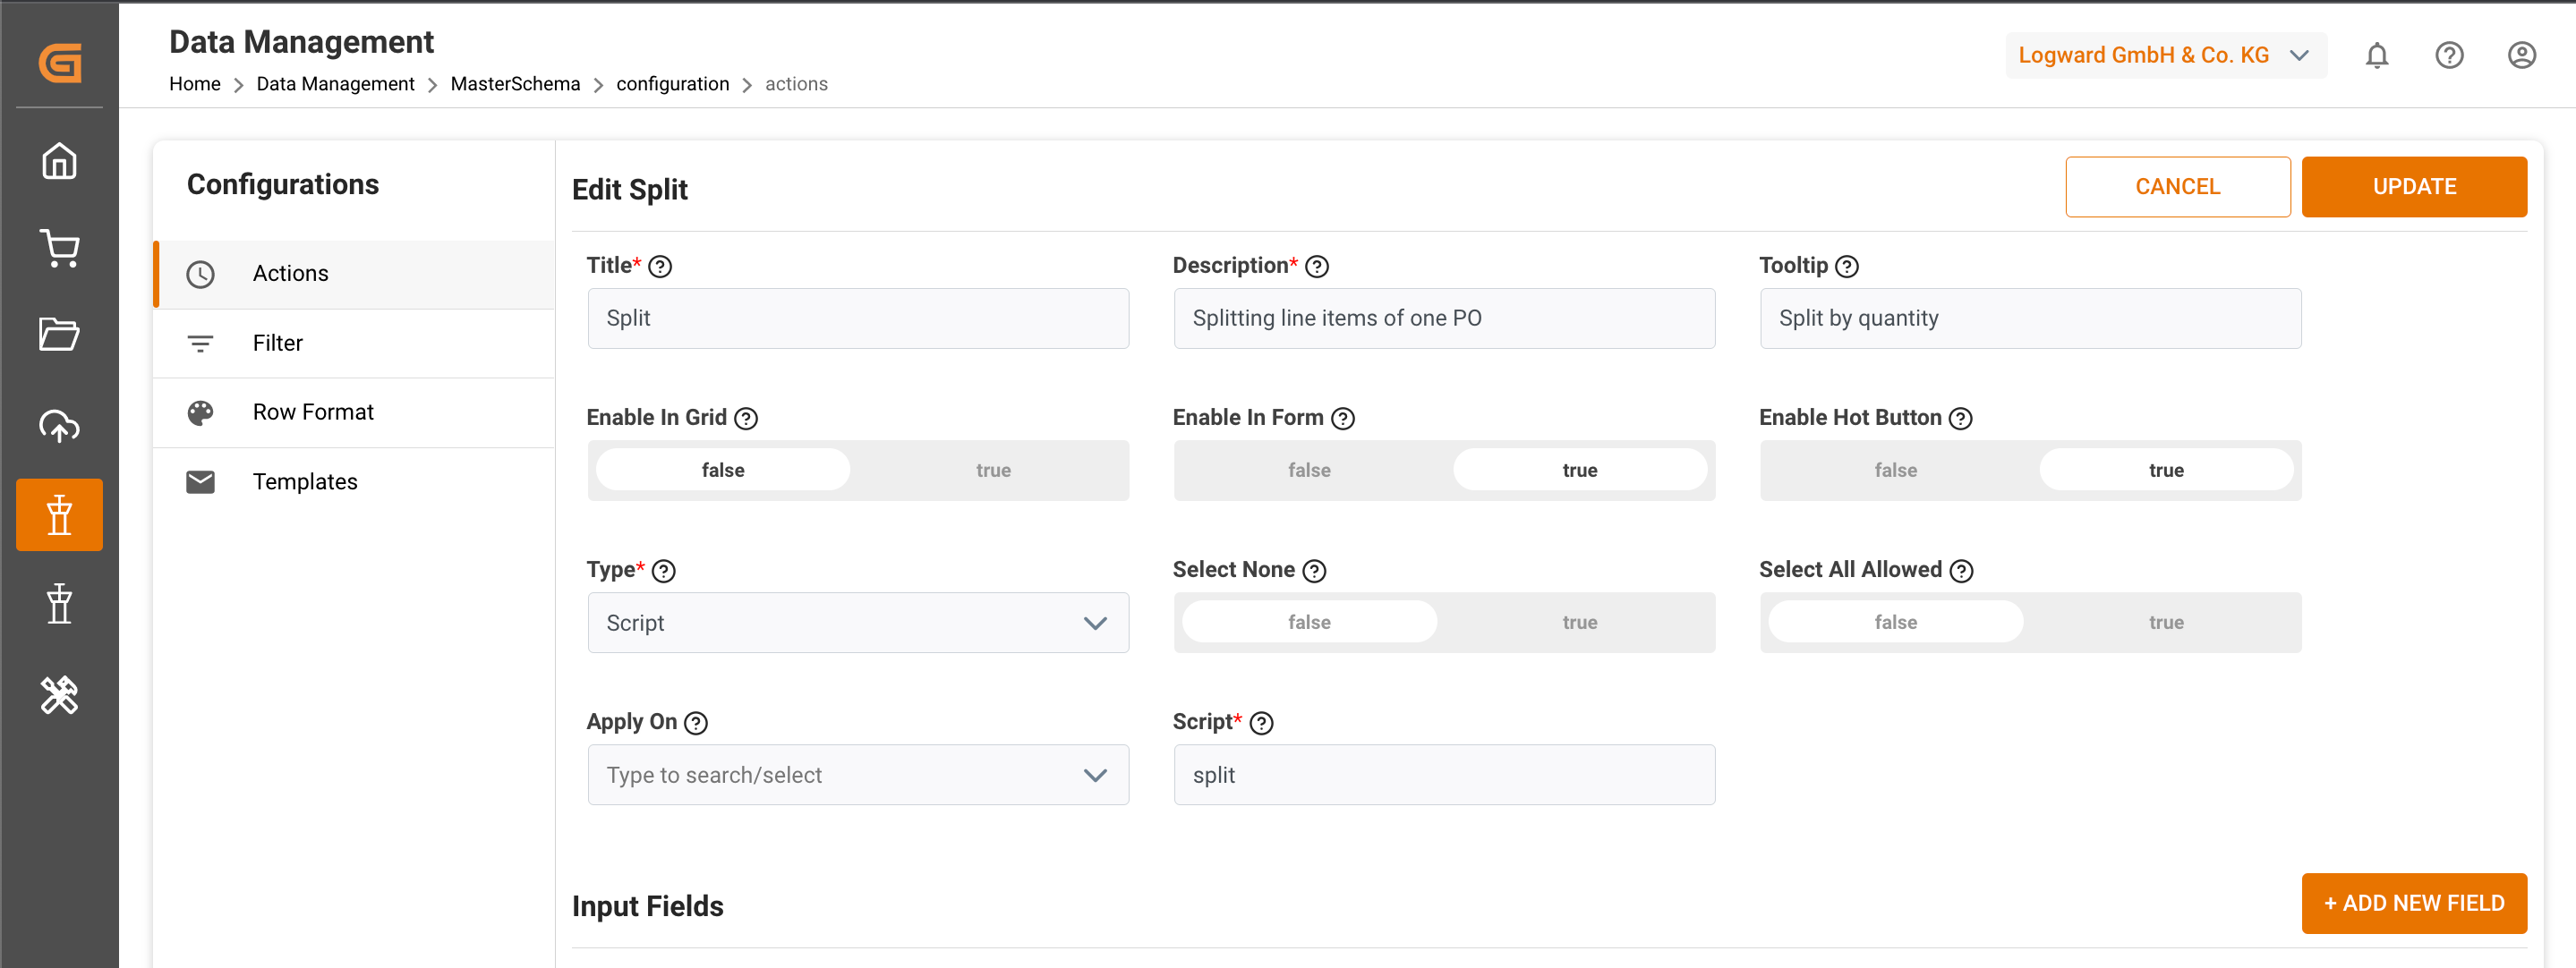
Additional fields for Type = Script
8. Select None = False: This helps when an action is allowed to run without selecting any single line item from the table. Some actions might require such setting when they have to be run in isolation with table objects. For splitting, set this field to "False" as users are required to choose at least 1 line item to split it into 2 line items.
9. Select All Allowed = False: This allows to select all the objects in the database of that table. Set this to "False" because split happens over some number format key and is dynamic.
Note: Selecting all line items from the Grid View should not be valid because it is not convenient for users to give further inputs for each line item.
10. Apply on: This is to set a default configuration, if required, to apply the action on selected rows or filtered rows. Choosing either from the dropdown ensures that the action is run accordingly without asking users at runtime for more inputs, thus reducing clicks. For the Split Action, it is better to not set any configuration here.
- When users select a few line items from the Grid View and run the action from either Edit Tab > Actions > Split or the Split hot button in the Home Tab, and Apply on the Selected Rows, it directly has an effect.
- Users can select to filter data using the feature ‘Filter Rows' from the Format Tab in the Grid View, and then click on the Split hot button in the Home Tab or Edit Tab > Actions > Split, and it directly acts if the setting is "Apply on = Filtered Rows".
- "Apply on" is an optional field, so if nothing is set as default, users are given the option of Selected Rows or Filtered Rows while running the action.
11. Roles: As an admin user, you may choose which roles have access to a particular action. You can select all users by clicking "All" or select roles from the dropdown list that opens after clicking "Custom".
12. Script: Enter the exact name of the script created by Logward for each action. In this case, enter "split".
Note: Script names are case-sensitive.
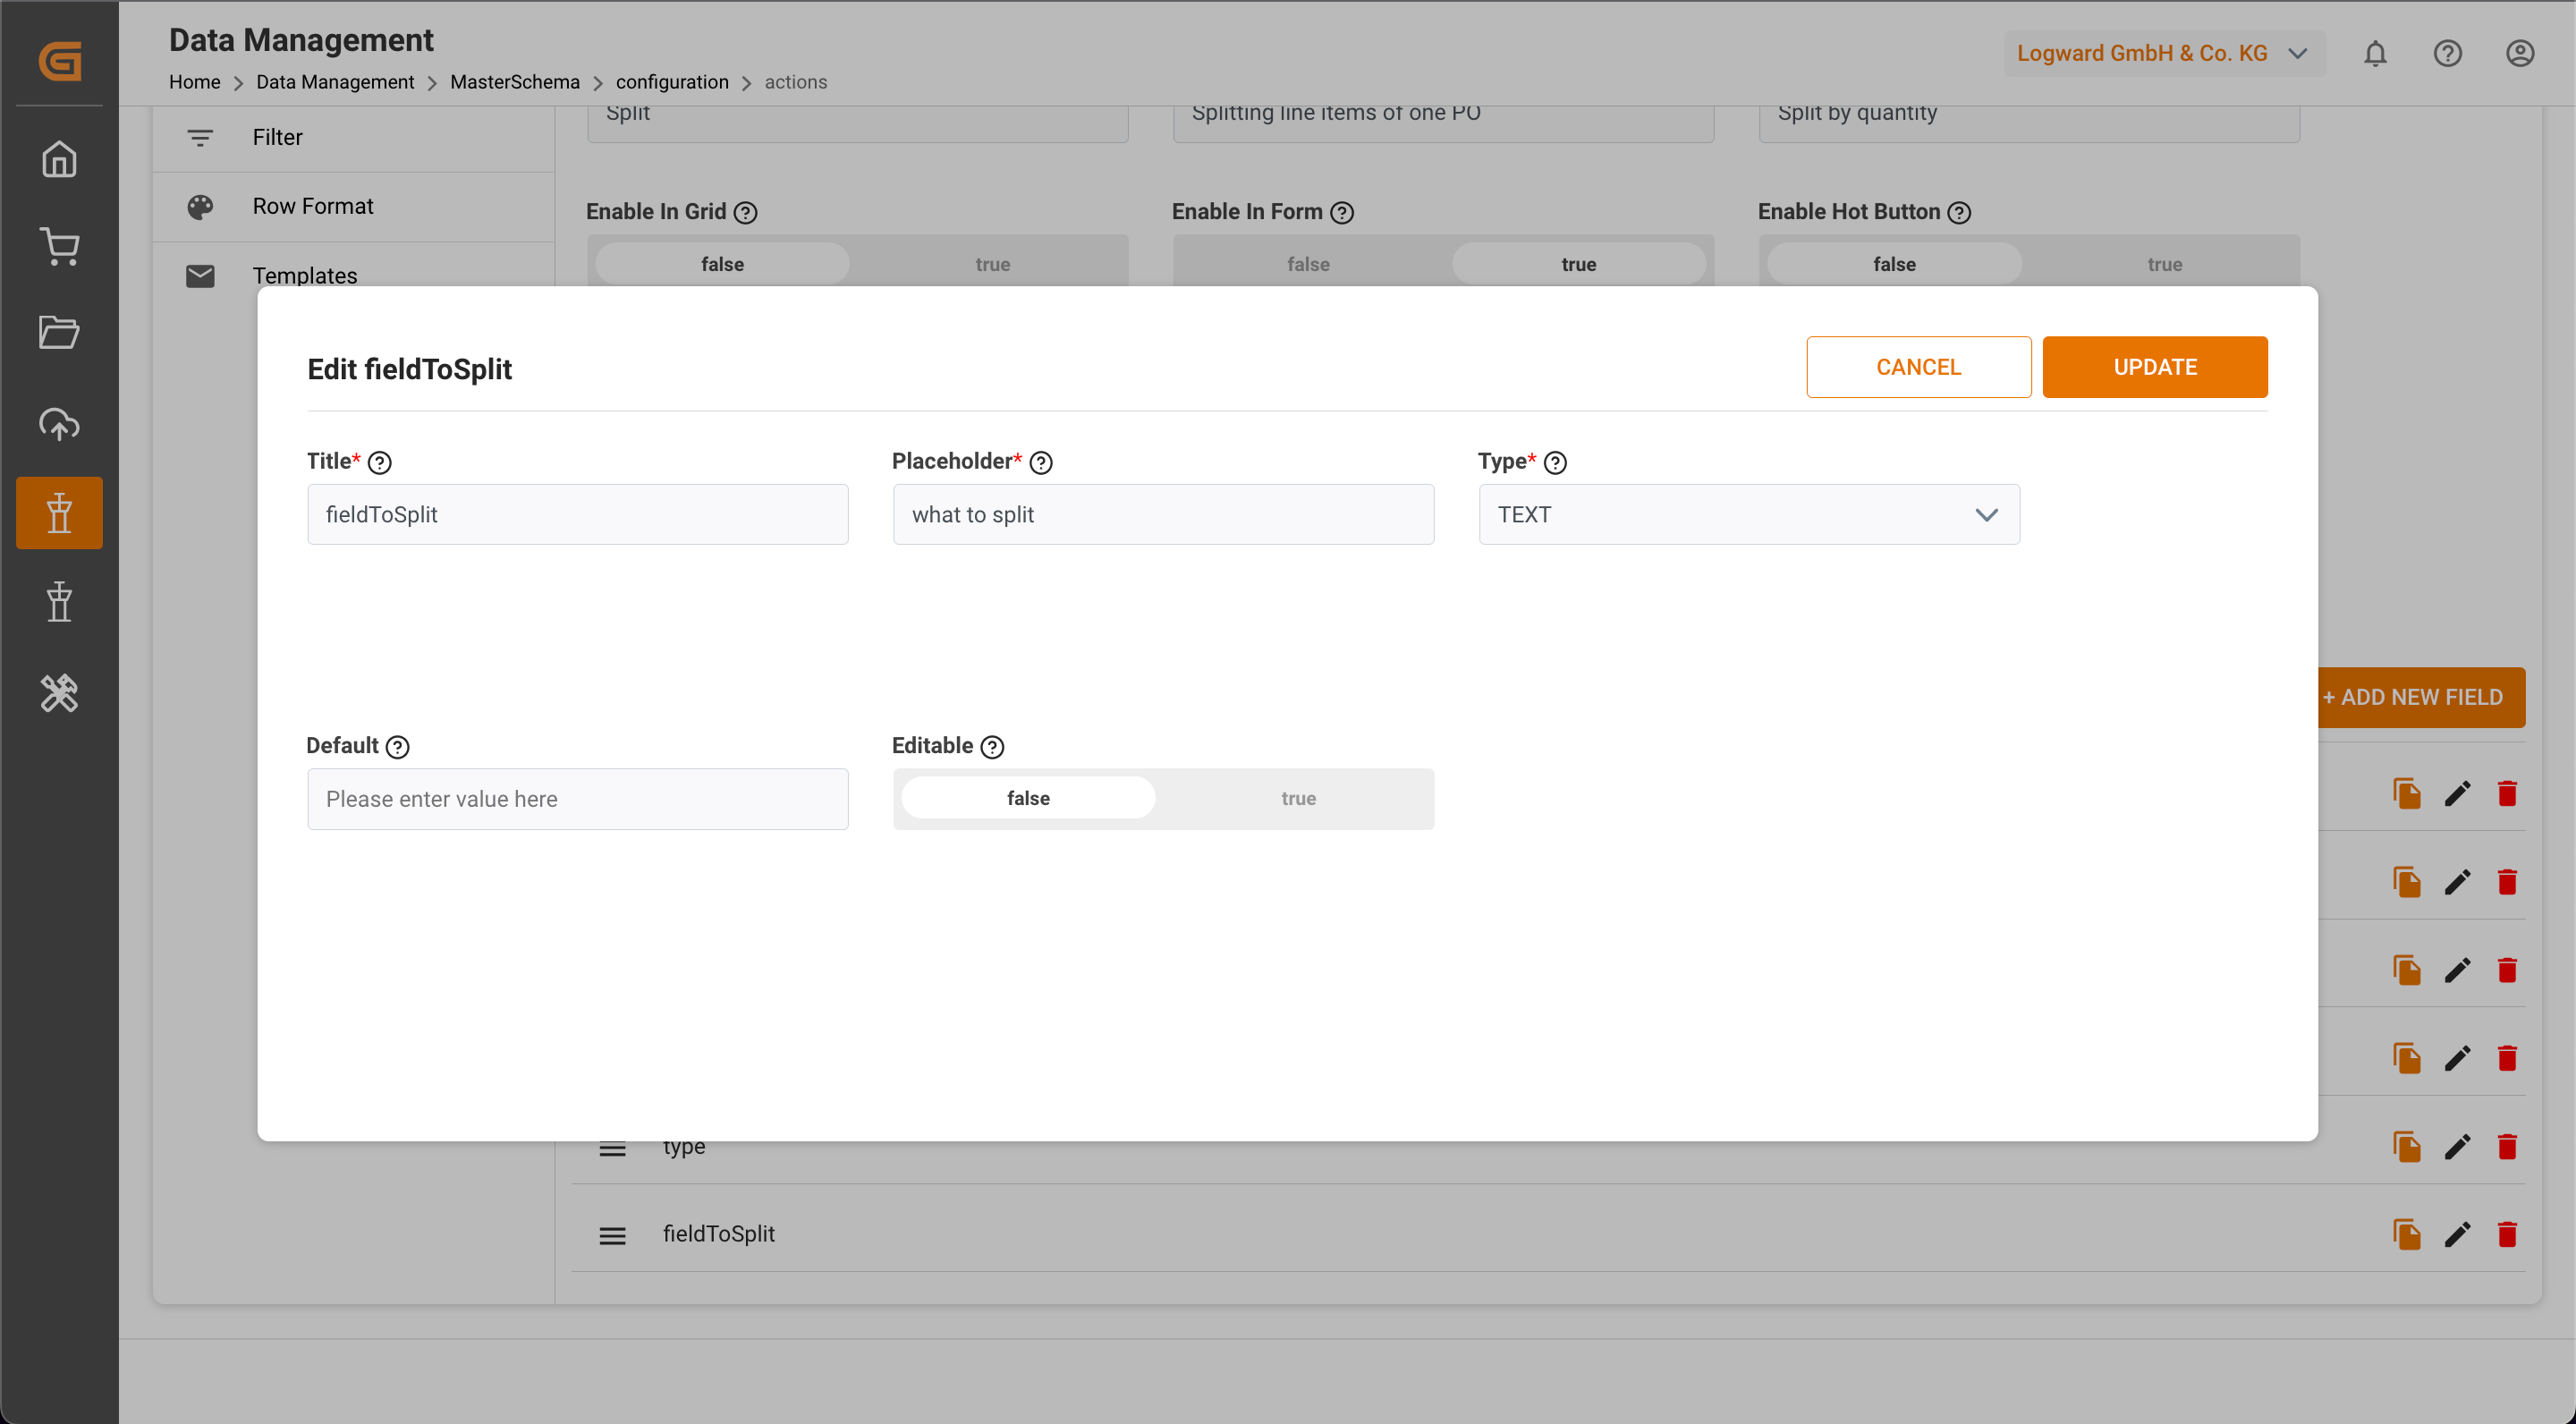
13. Input Fields: Here you should add fields which cannot be standardised in the script but need inputs for the action to run. These can be dynamic, based on the customer side, and therefore, asked for separately before running the action.
For the Split Action, add the following parameters as individual fields:
- fieldToSplit - The options should have the fields from the table that need to be split. In this case, type should be ‘Dropdown’ because it has the list of all table keys. In Options, type all relevant table keys in a comma-separated format. This list will be visible when you run the action so that users can choose from it. “Default” can be set for convenience. If "Default" is not set, keep “Editable” as “True”.
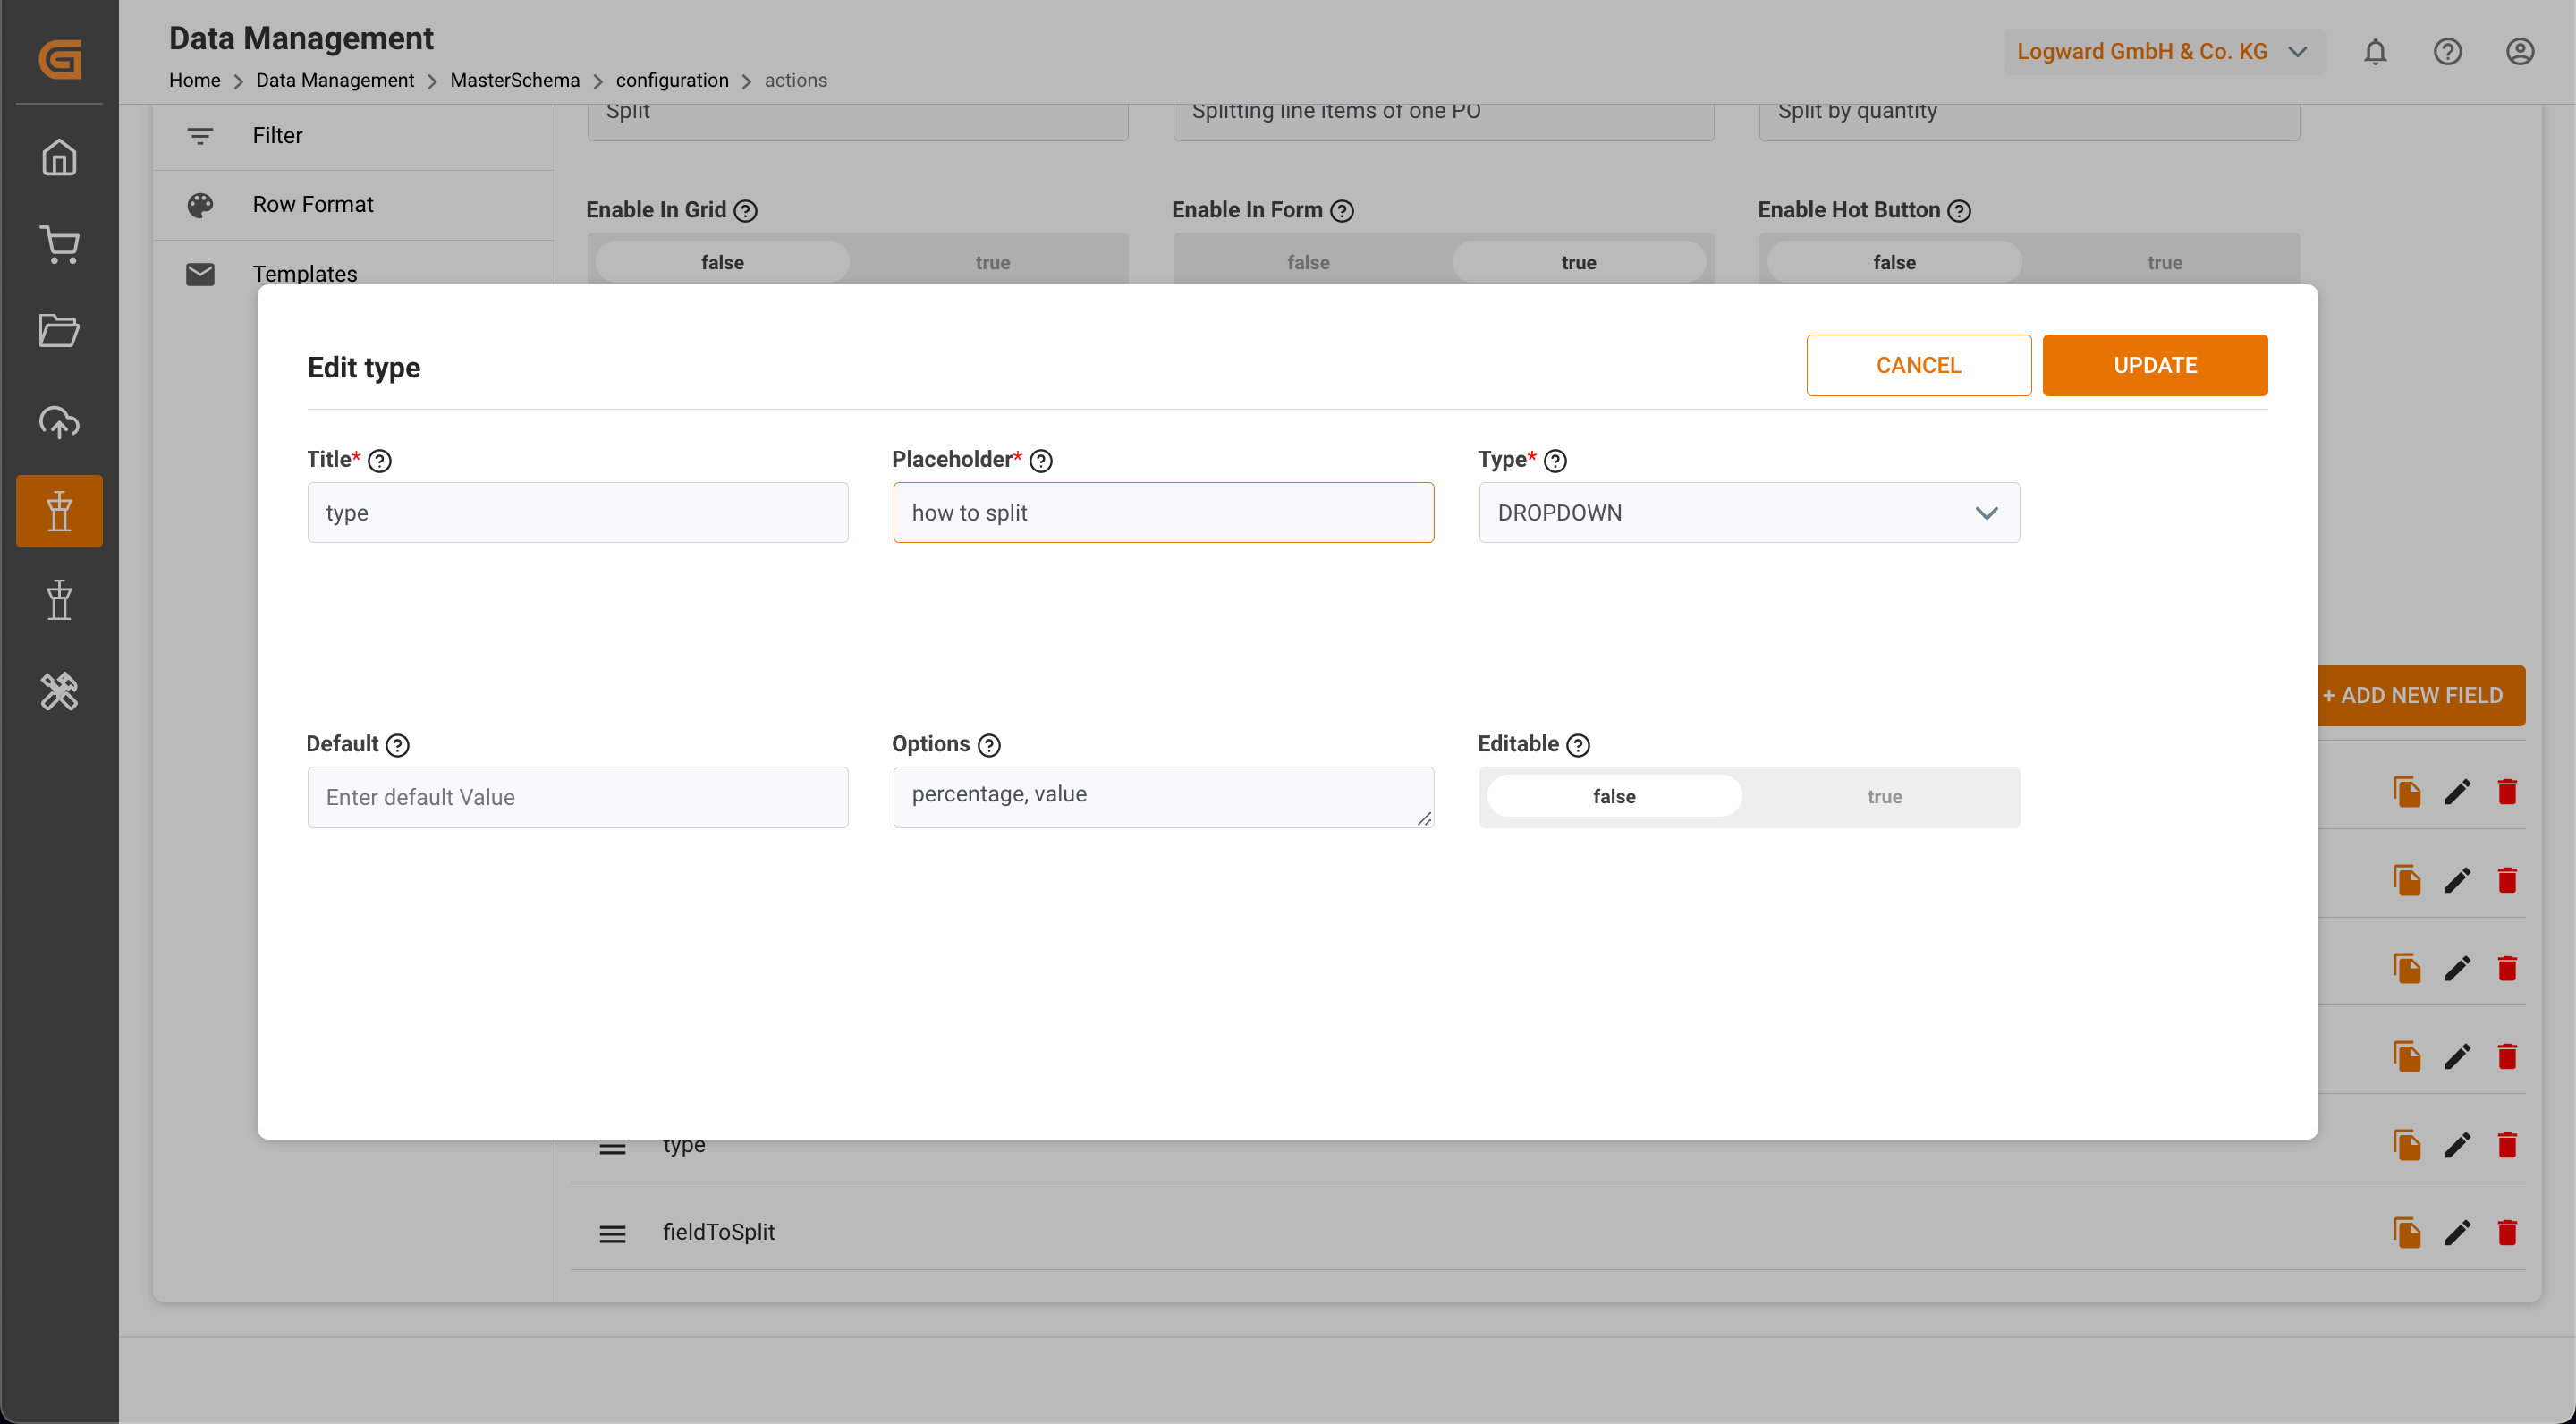
- Type - Type of split, is based on value or percentage (don’t change the field), with a dropdown users choose at runtime. Depending on your needs, that value can be set as ‘Default’ too. If default is not set, keep "Editable" as “True”.
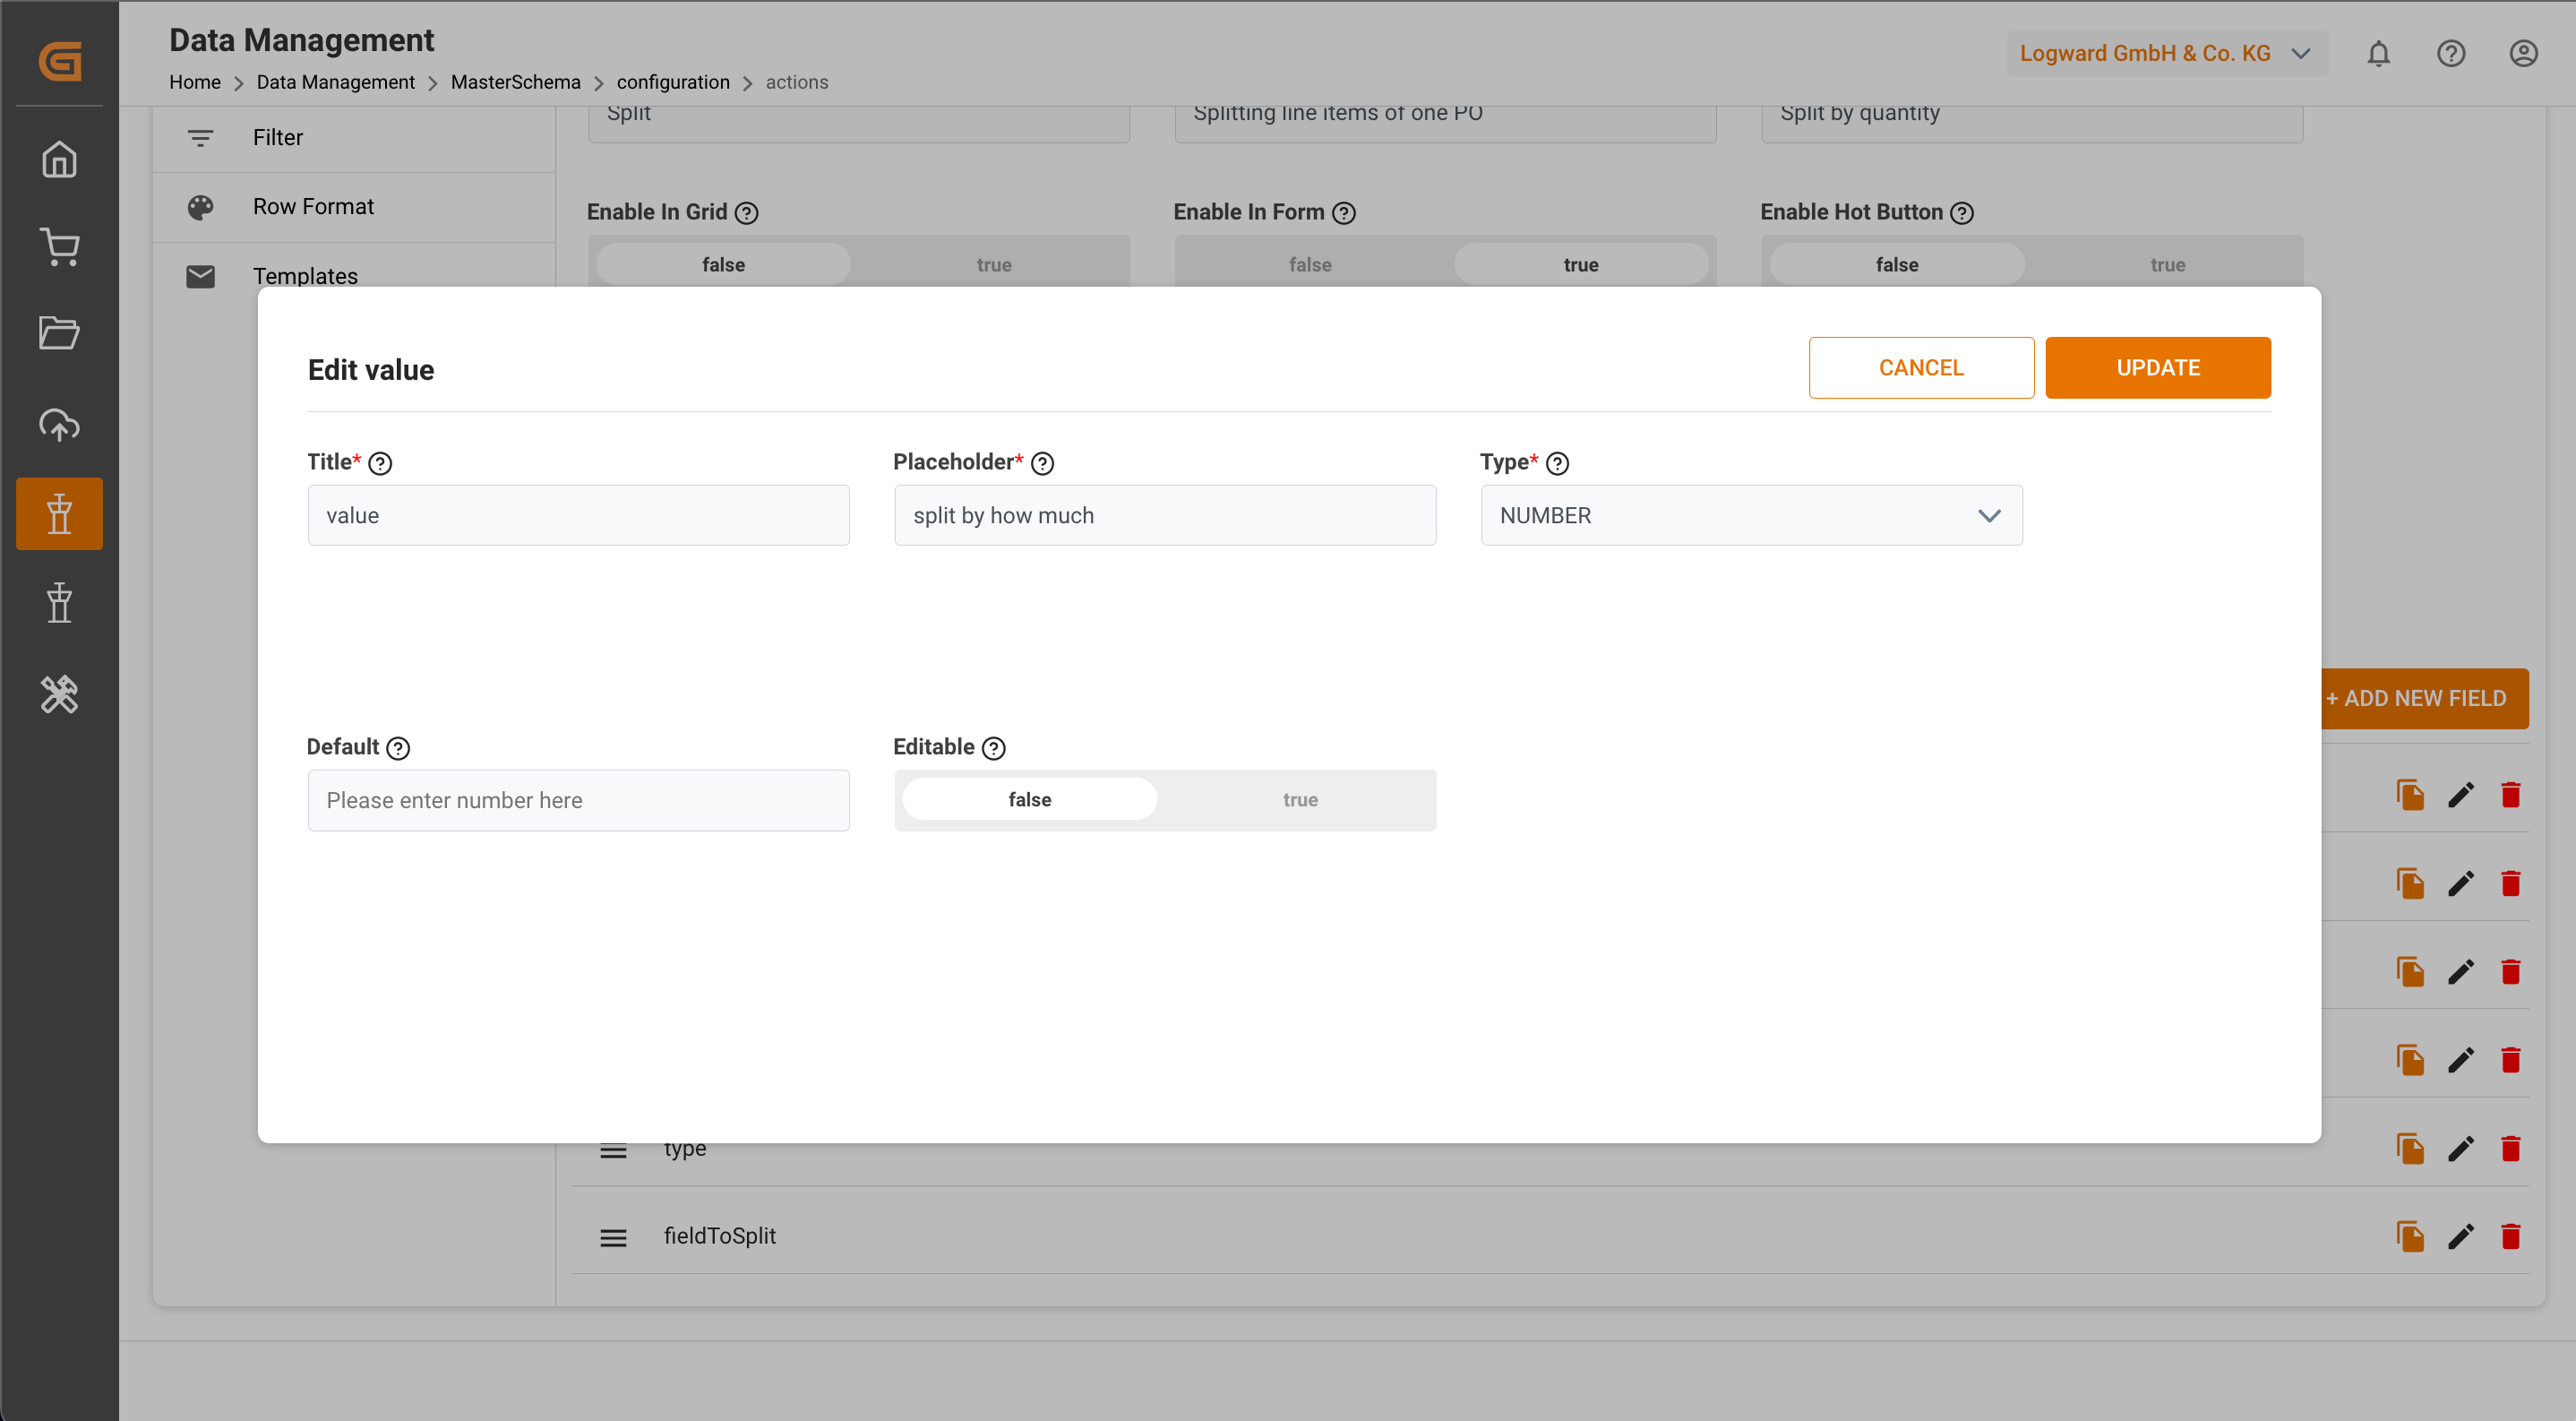
- Value - This refers to "by how much" you want to split the line item based on the Type (don't change the field). In this case, this should be a "Number" Type. Keep "Editable" as “True”.
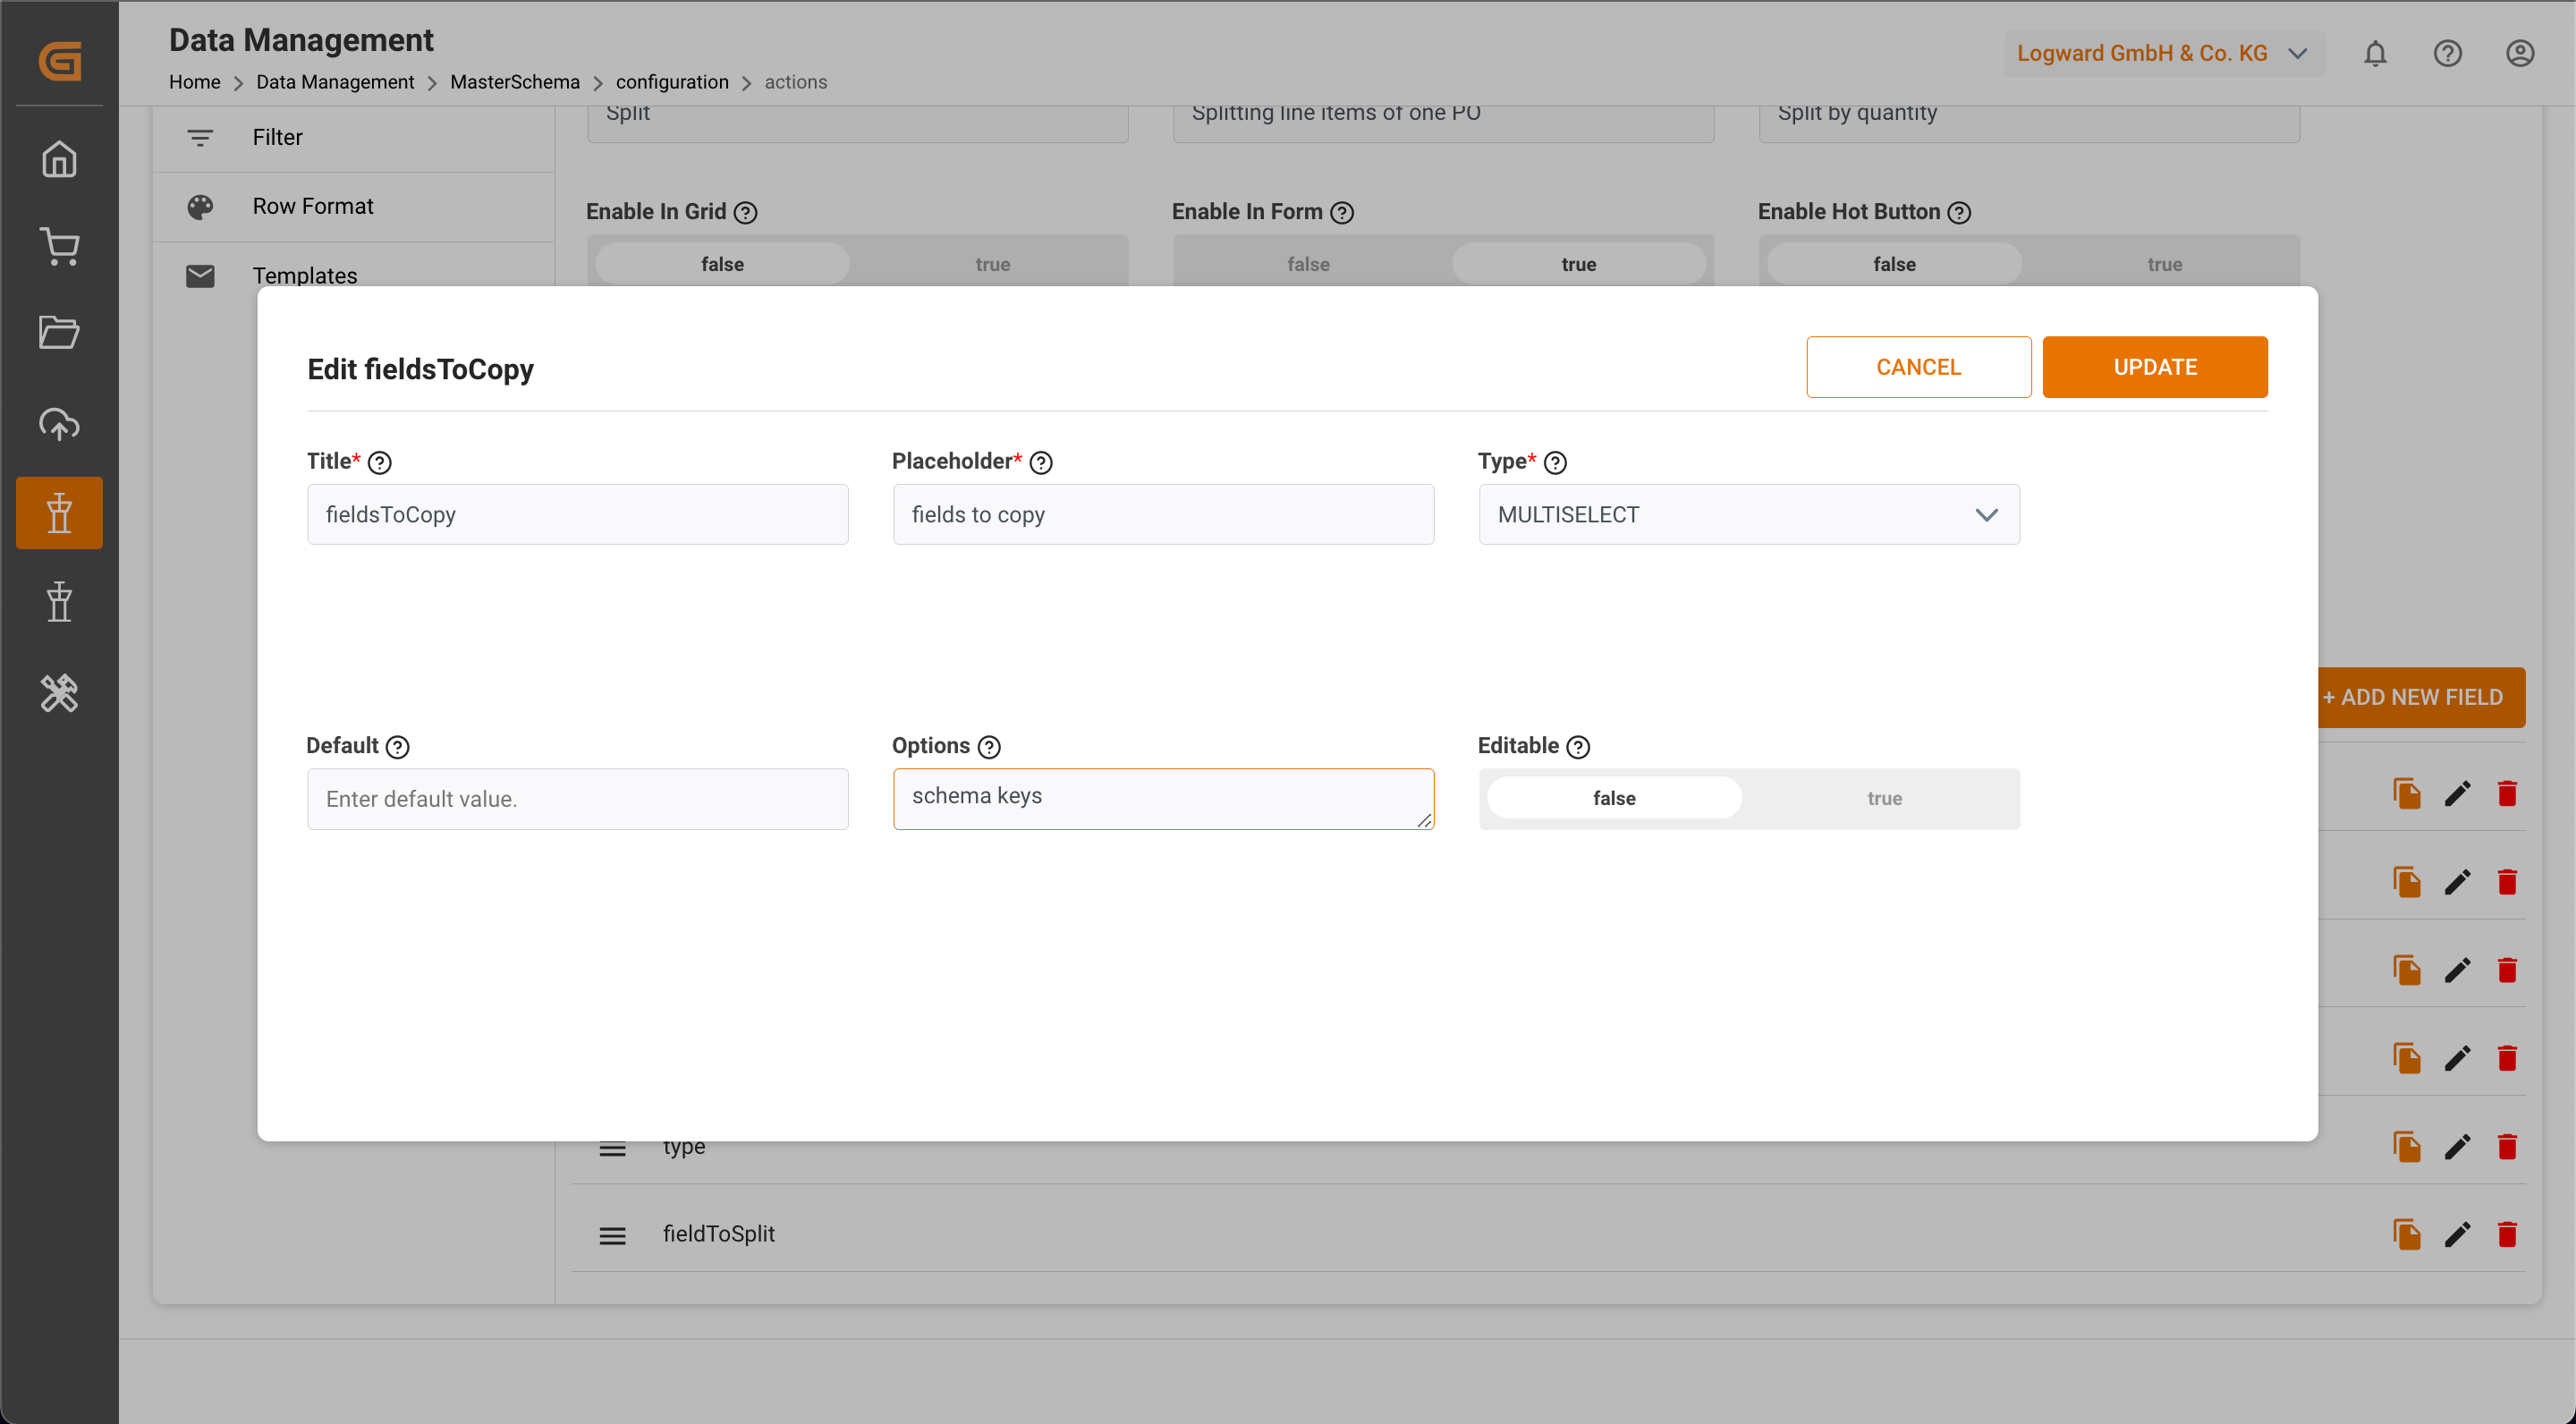
- fieldsToCopy - The options should have the list of fields to be copied to the newly created object / row. Choose "Multiselect" to get a dropdown with checkboxes. To generate the dropdown list, add all relevant table keys in the "Options" field. In some cases the "Default" field is also filled out. This can still be changed during runtime.
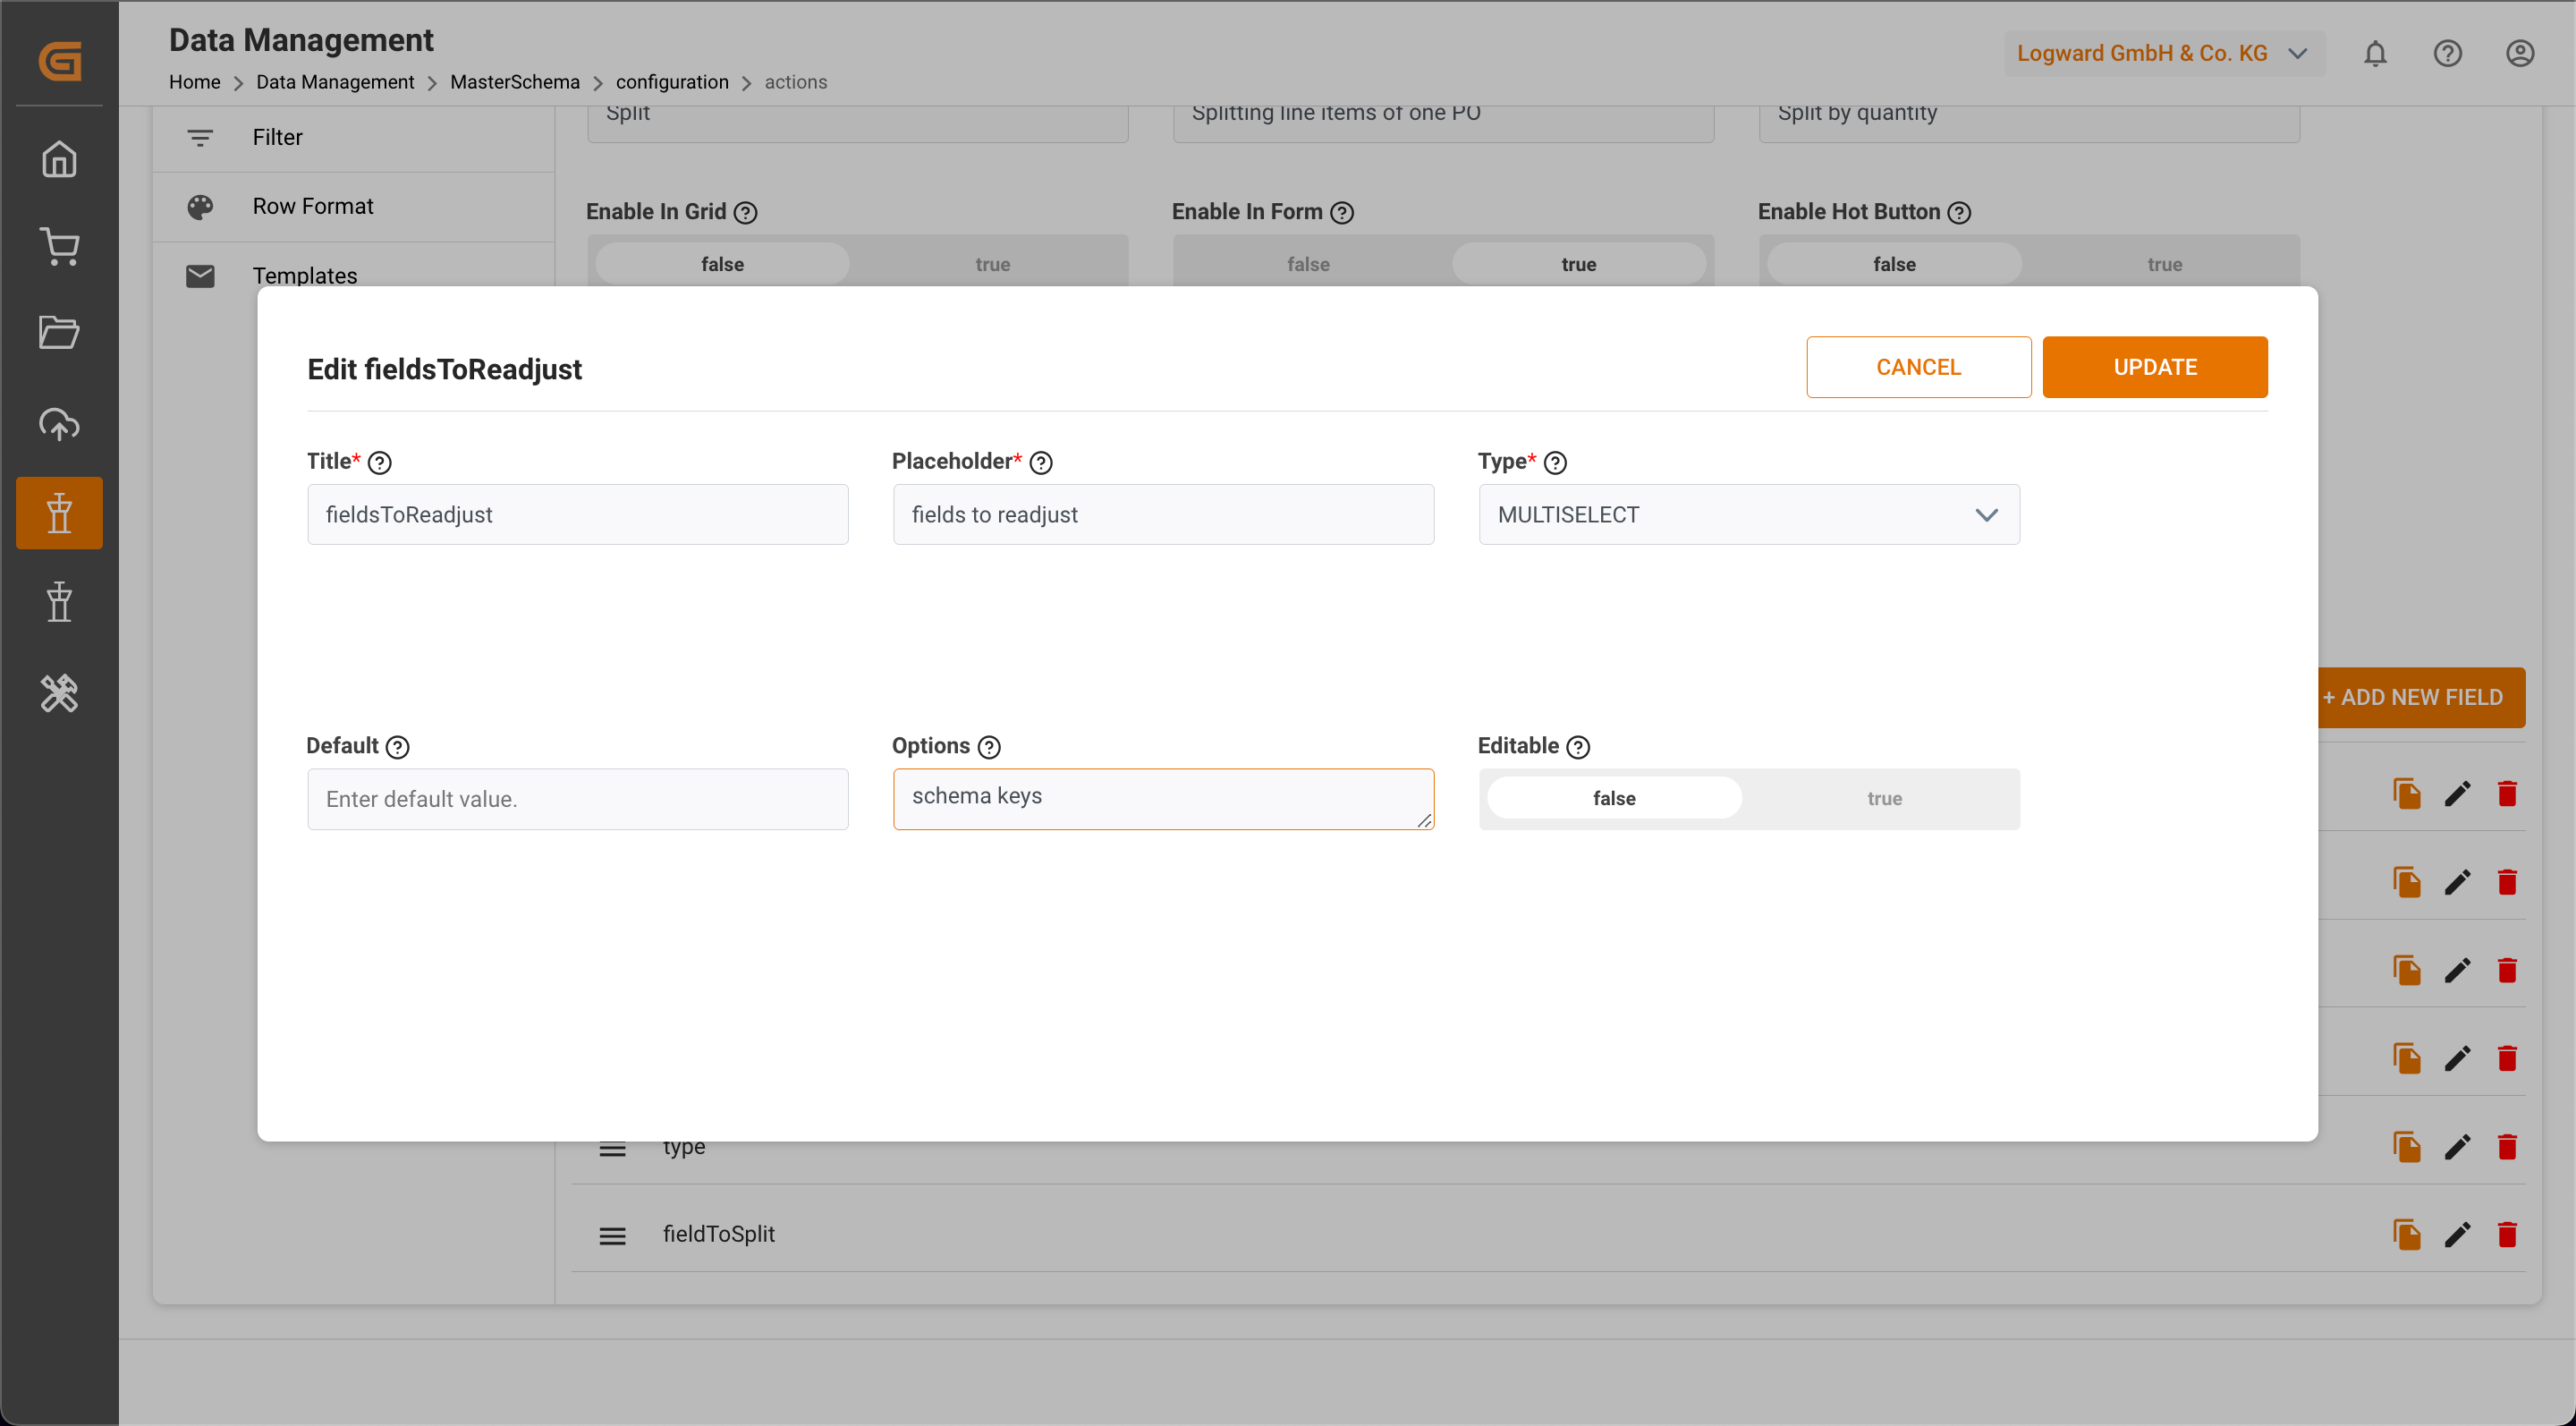
- fieldsToReadjust - The options should have a list of fields to be re-distributed based on the percentage or the value of the split field. Choose "Multiselect" to have a dropdown with checkboxes. To generate the dropdown list, add all relevant table keys in the "Options" field. In some cases, the "Default" field is also filled out. This can still be changed during runtime.
- Redirect - Users are asked if they want to be redirected to the new split line item. Choose "Dropdown", which will either say "Yes" or "No". It is added in a comma-separated format in the "Options" field.
13. Update Input fields and Update Action.
This is how it looks when you're finished.
If you have any queries about splitting orders, reach out to [email protected]