Setup a new Warehouse in Time Slot Management

Prerna
Last Update hace un año
What is this article about?
Learn how to create a new warehouse and configure the warehouse settings.
Who is this article for?
Any Warehouse Admin User with the AddOn Permissions to configure the settings of the Time Slot Management System.
Step-by-Step Guide
Step 1: Navigation
After login, click on 'Time Slot Management' in your sidebar, then select the nested menu 'Ramp Calendar'.


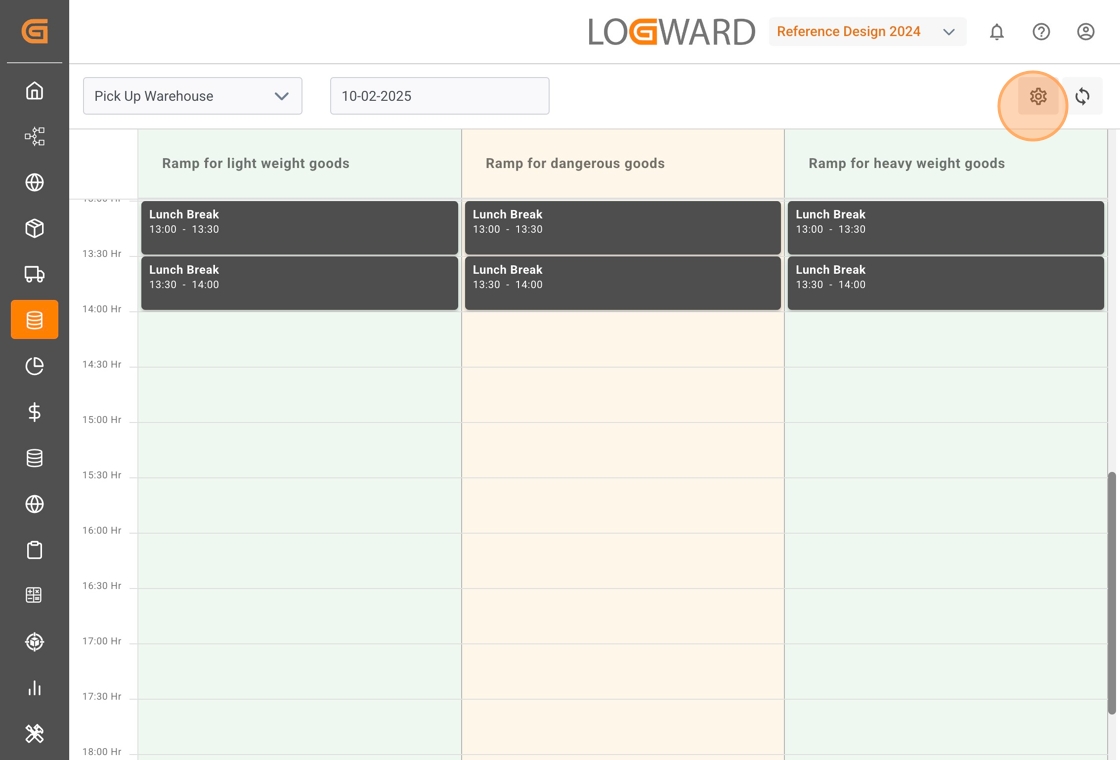
This will direct you to the calendar view where your warehouse staff and partners can book time slots for the ramps and warehouses defined by you.
Click on the settings icon on the top right of the calendar view to open the warehouse configurations:
Within the configurations view, you find four tabs for specific settings. Select the second tab 'Warehouse' and click on 'Add Warehouse' in the top right corner:

Step 2: Select your Warehouse's Time Zone
Each warehouse you create is available as a calendar view in the TSM, as well as a table view, where all associated slot bookings are represented as a list of objects.
When setting up a new warehouse, start by assigning it a unique name for easy identification.
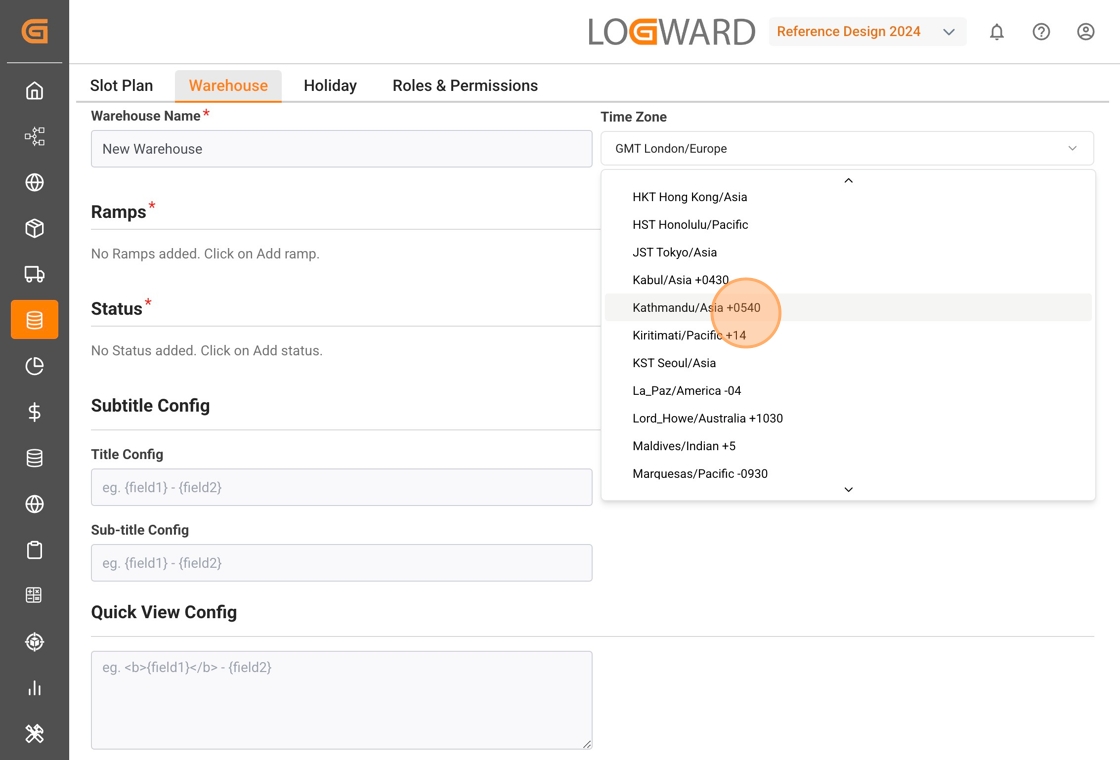
Next, select the appropriate time zone your warehouse is located in. This ensures seamless time slot bookings, especially when coordinating with partners such as truckers, carriers, and logistics teams who may operate across different regions. Regardless of where your partners are located, all bookings will be scheduled in the warehouse’s local time, ensuring clarity and consistency in scheduling.
Simply use search or choose the relevant time zone from the dropdown menu, as shown in the image below:
Step 3: Configure Ramps for the warehouse
Ramps serve as the designated loading and unloading points, making them essential for warehouse operations.
A warehouse can have multiple ramps, but it must have at least one to function - this is a mandatory requirement.
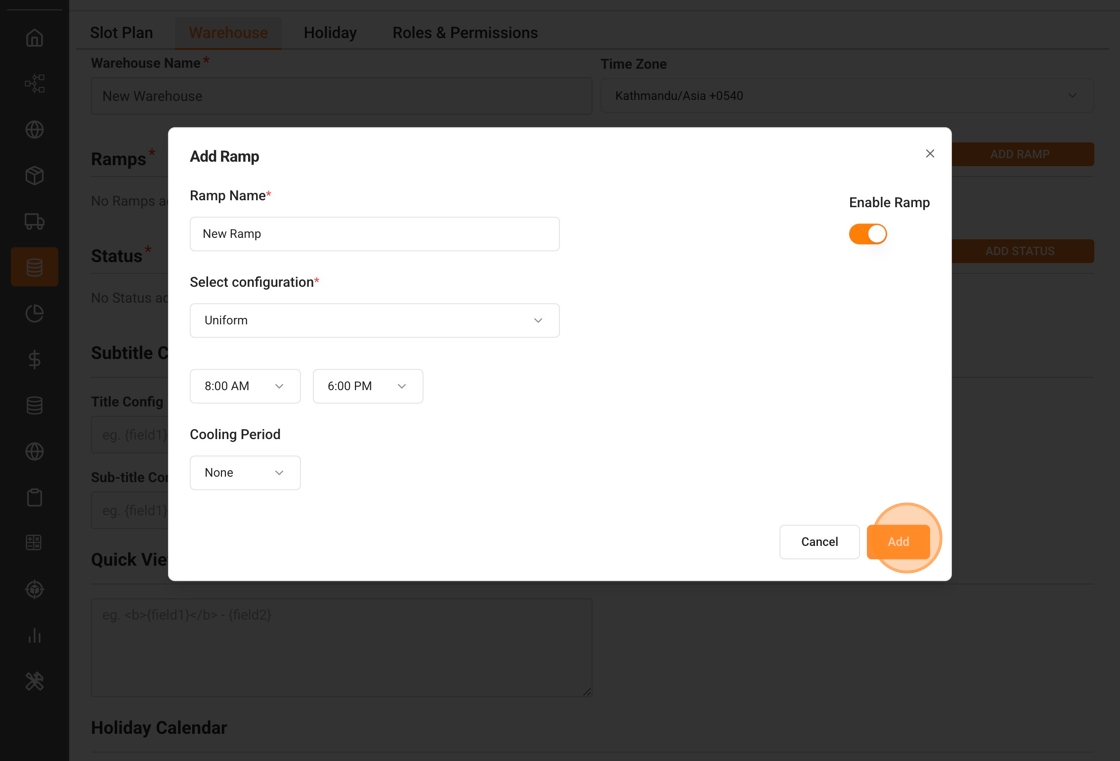
- Click 'Add Ramp' to open the Ramp Configuration popup.
- Enter the required ramp details.
- Click 'Add' to confirm.
- Repeat the process to add more ramps as needed.
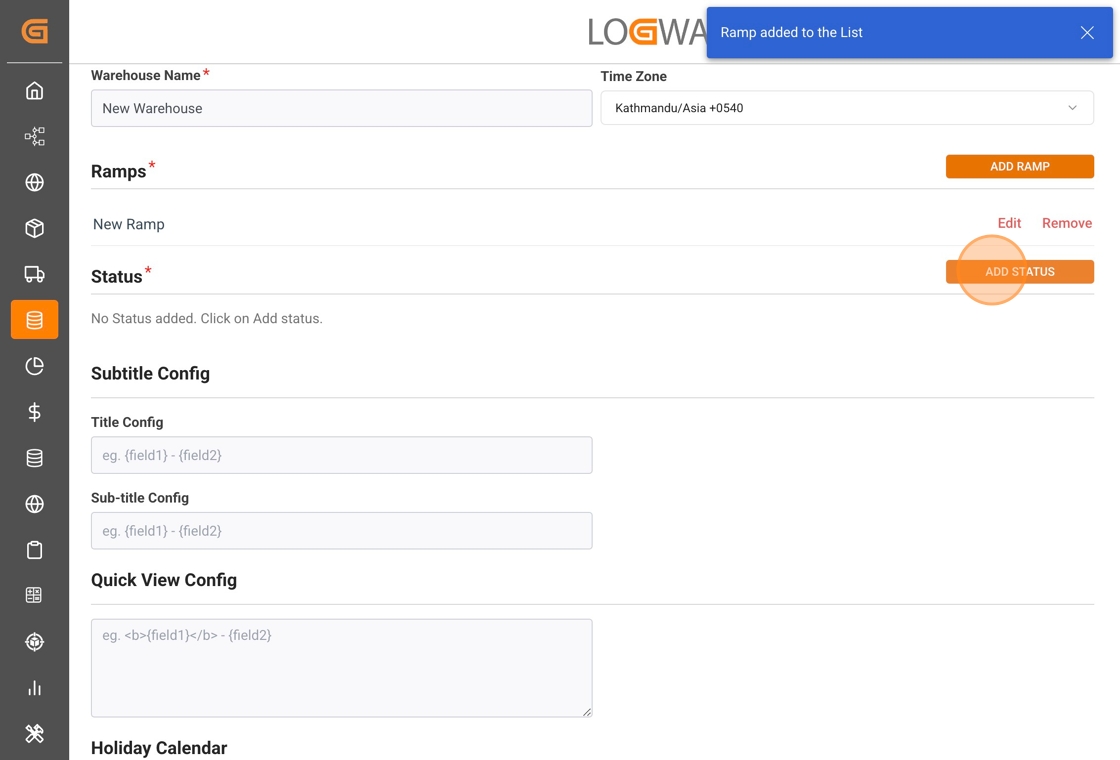
You can also add additional ramps to an existing warehouse at any time by following the same steps. For a detailed walkthrough, refer to the Ramp Configuration article.

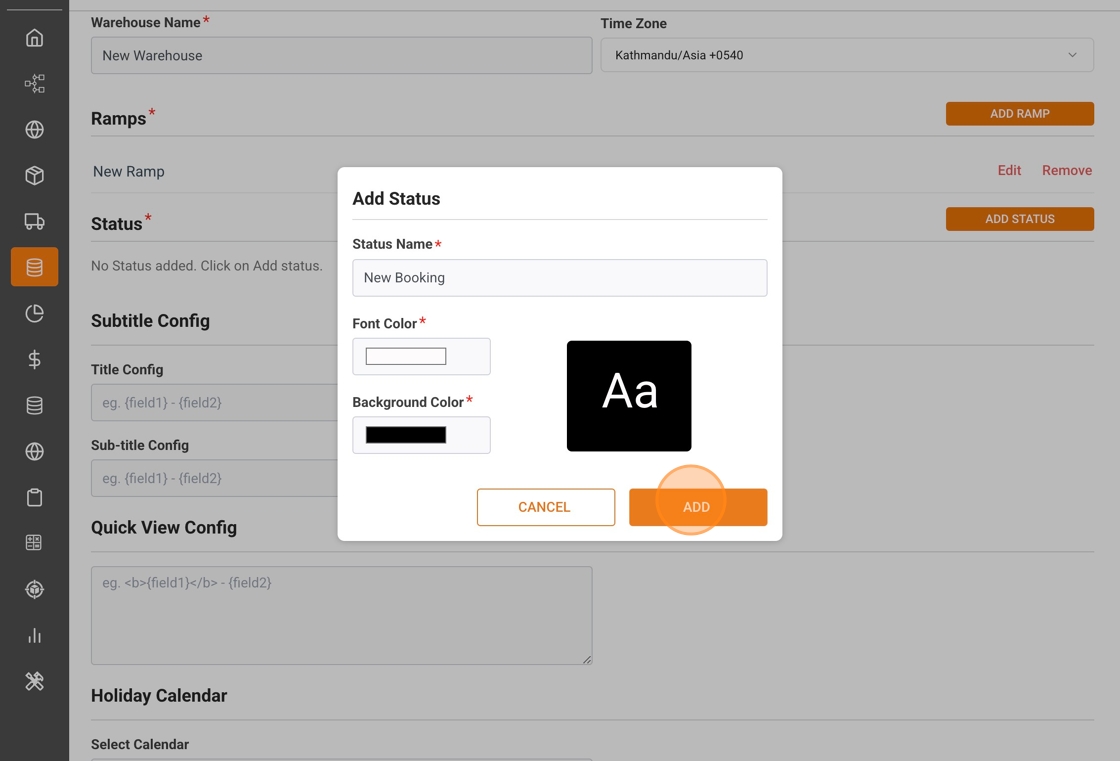
Step 4: Configure Color-Coded Statuses for Time Slots
As the warehouse owner, you can configure color-coded statuses for all time slots. Statuses like "loading started", "loading completed" or "booking error" enhance visual clarity across all ramps within a warehouse, on any given day.
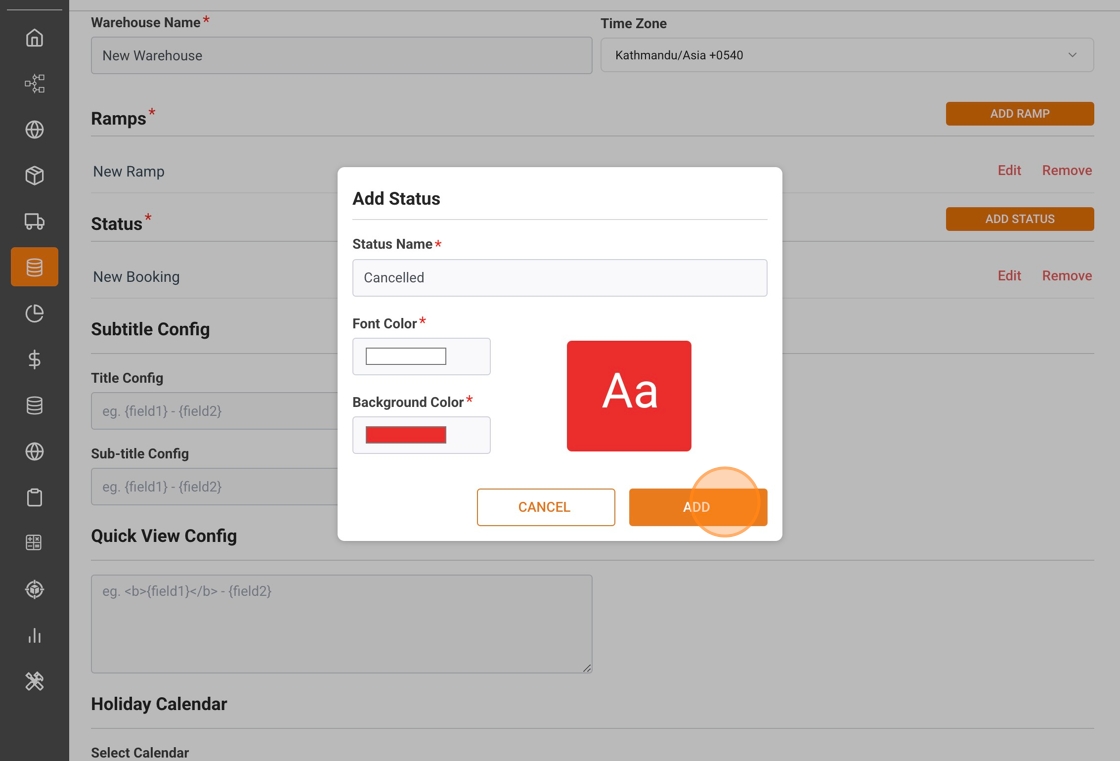
- Click 'Add Status' to open the Status Configuration popup.
- Choose a background color and font color to represent a specific status.
- Click 'Add' to save the status option.
- Repeat this process to create multiple status options as needed.
Once configured, your status options appear as fixed values in the dropdown-field 'Status', that is associated to each booked slot. This allows you to reflect the loading/unloading progress efficiently.
Partners who have booked a time slot will also be able edit its status. As they, or your warehouse staff, update the status, the color-coding will change accordingly, providing a real-time visual representation of the loading/unloading progress.
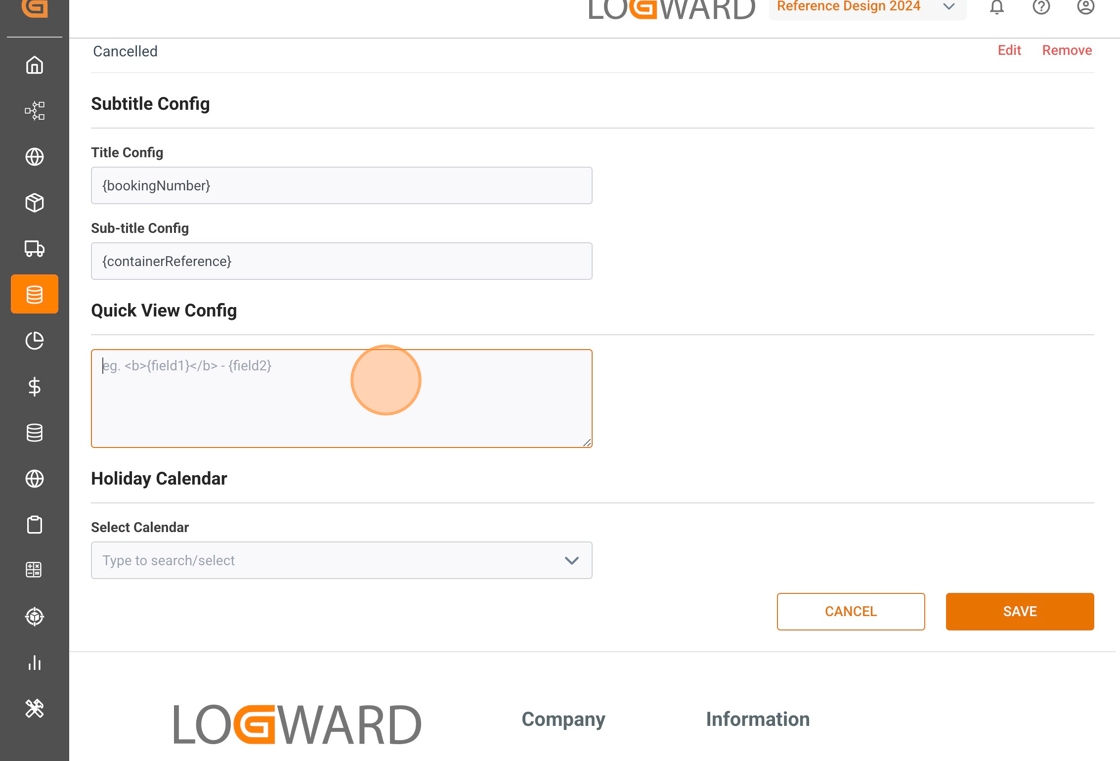
Step 5: Define the Display Text of a Time Slot
In the sections 'Subtitle Config' and 'Quick View Config' you customize how a time slot is displayed in the calendar view of your warehouse. This setting is applied at the warehouse level, meaning all time slots on all ramps within the warehouse will follow the same format.
How to define the display text of a booked time slot:
- Title & Subtitle Config: Add static text or select specific table fields that will be shown for the booked slot in the calendar view.
How to define the layout of the Quick View Popup, which opens upon click of a booked slot in the calendar view:
- Quick View Config: Select the time slot fields that should be available at a glance. The titles as well as the values of the selected fields will be shown in the quick view popup, which ensures fast access to essential details.
Note: The Quick View Config field requires input in HTML format. For support, do not hesitate to reach out to us!
Step 6: Select a Holiday Calendar for the warehouse
As an additional and optional step in your warehouse configuration, you can link one of your holiday calendars using the dropdown field indicated below. A corresponding calendar needs to be pre-configured. For a detailed guide, please refer to our article on how to Configure a Holiday Calendar.
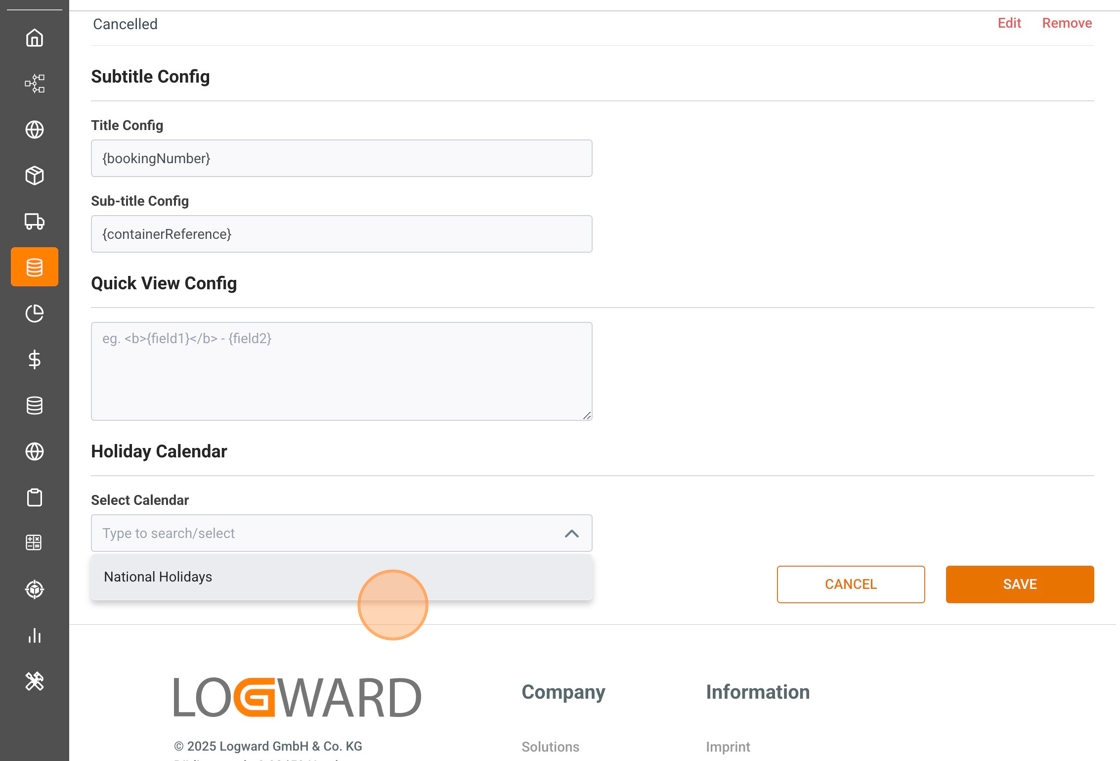
Once you completed all steps, please click on the 'Save' button at the bottom to save all your warehouse all your configurations. Your warehouse is now ready!