Configuring Your Cockpit

Prerna
Last Update a year ago
What is this article about?
- Learn how to customize your landing page of the Logward Platform using different widgets.
Who is this article for?
- All users accessing the Platform.
Introduction
The Cockpit is your landing page within the Logward Platform that provides users with a centralized view of critical information and tools. It consists of widgets, which are interactive components that display specific data or perform certain functions, like filters, reports, emission calculator or user details.
Key Highlights of the Cockpit
- Users can choose from a variety of pre-built widgets, each serving a distinct purpose (e.g., KPI tracking, recent activity, or real-time analytics).
- Users can customize their cockpit by selecting which widgets to display and adjust their layout or position on the cockpit to match their workflow and priorities.
- Widgets can be rearranged easily through drag-and-drop, allowing users to create a layout that suits their preferences and work style.
This highly flexible cockpit enables users to tailor their platform experience, ensuring they have the most relevant data and tools at hand, at all times.
Important things to remember:
This guide will explain creating a new cockpit view. Before we begin, here are some important points to know:
- Each user always has a default cockpit of 3 widgets in a defined layout which cannot be edited.
- Users may create as many additional cockpit views as they need, each with a unique name for identification.
- On every login, the cockpit view that you used last is applied.
Step-by-Step Guide
1. Navigate to Edit Mode
Login to your account at app.logward.com. You will land on the default cockpit view that reflects the widgets User Info, Risk Management, and Emission Calculator in a defined layout:

Click on the Edit or pen icon next to your username to create a new cockpit view or edit the current one.

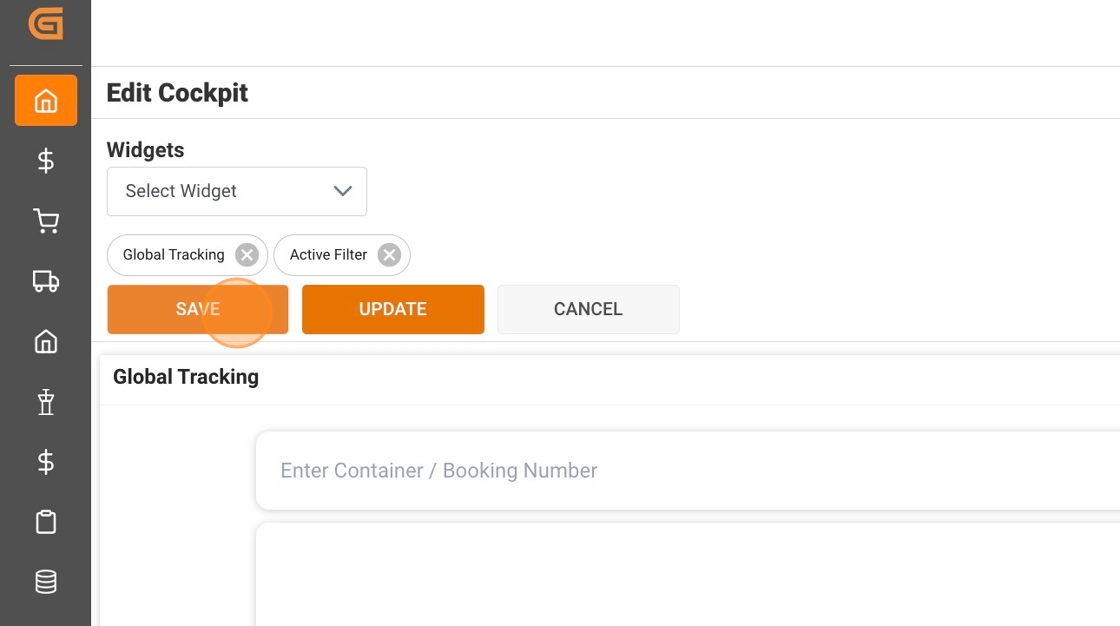
In the Edit Mode you will find:
- Dropdown list to select widgets from.
- Pills that represent already applied widgets.
- Save, Update, and Cancel buttons for the configuration.

2. Widget Selection
To add a new widget to your cockpit layout, open the dropdown list
and select any widget of choice. Upon selecting, each new widget
will be added to the layout at the next available space.

3. Layout Customization
Once you have added all required widgets to your layout, you can customize their position and size:
- To resize a widget, click and hold its right bottom corner point and release it, when the appropriate size is reached.
- To change the widget position, drag it by its name or header and drop it at the desired position. The other widgets will simultaneously adjust their positions to accommodate the change.
- To remove a widget from the layout, you can either click on the bin icon on the right top corner of the widget or click on the cross button within the pill, on the top.


4. Save your Cockpit Layout
Once you are satisfied with your cockpit layout, click on the ‘Save’ button
on the top. This will open a popup window, where you enter a name for
this layout. Remember to assign unique names to each layout, if you
create several Cockpit Views for yourself.
If you want to edit an existing layout instead of creating a new one, choose the layout that you want to change from the dropdown list on the top right of your cockpit.
Now use the pencil icon and make your changes as described above, then click on the 'Update' button instead of 'Save'.

That's it! you successfully customized your landing page!