Configure Conditional Formatting for Tables

Prerna
Last Update hace 2 años
What is this article about?
- Learn how to set up Conditional Formatting, to color-code the objects in a table based on custom conditions
Who is this article for?
- Account admins and users with the AddOn Permission to create Conditional Formatting configuration
Introduction
Condition-based color-coding in a table uses colors to visually highlight matching objects, such as marking rows with critical values in red, warnings in yellow, and acceptable ranges in green. The coloring is defined by you and can be shared with other user roles.
- A conditional formatting configuration is set up for a specific table, and you can create multiple configurations for the same table
- One configuration can be set on multiple field conditions, each with an 'And' operator, which means all conditions must be met for the color-coding to be applied.
The Logward Platform currently supports rule-based coloring for selected data fields, or for entire rows in a table. Adapting the font color is not yet available.
Useful Terminology
Conditional Formatting
- Rule-based color-coding of selected fields or entire rows in a table, to highlight objects that match certain conditions
Configuration
- Your individual setup of one or more conditions and their consequent coloring of objects in a table
Condition
- A rule that defines a specific coloring, whenever the selected criterion is met
Step-by-Step Guide
This guide demonstrates the setup of conditional formatting for the table 'Sales Orders', to highlight objects based on their invoice status.
Follow these steps to create your own configuration for a table of your choice:
1. Navigate to Table Configurations
Open the table for which you want to set up conditional formatting, access the menu 'Edit' and select 'Configuration' from the toolbar:

This opens the list of all table-level configurations that are available to you, based on your role permissions.
Via the Configurations sidebar, access 'Conditional Formatting'. All existing configurations will be listed and can be edited by you from here.
To create a new configuration, click on the 'Add' button on the top right corner of the page:

2. Add Basic Details
After clicking 'Add', enter a name for the configuration and select the roles that shall be able to see and apply this configuration:
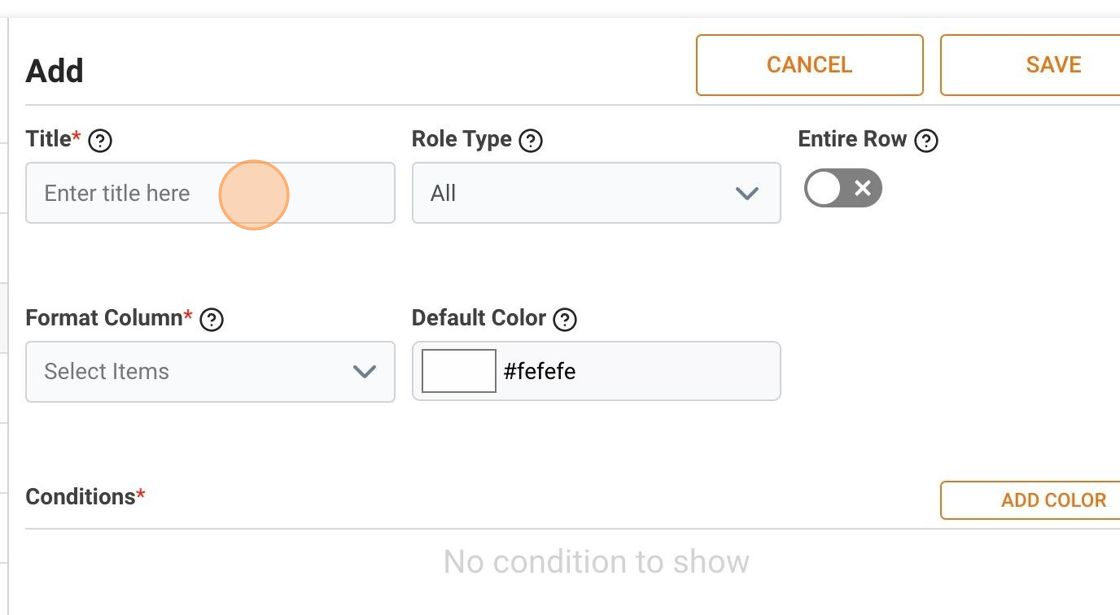
3. Select the columns to be colored, when conditions meet
Via the 'Entire Row' toggle next to the role selection you manage, which columns of your table will be colored. If you do not want to color-code the entire object row, leave the toggle off. You can then select one or more columns, and your formatting will be restricted to those:

The 'Default Color' is applied, whenever your formatting condition is not met for an object. By default, this is set to white, but can be changed to highlight rows that do not match any of the conditions within this configuration.
4. Configure the Conditions
You are now ready to create the actual formatting rules.
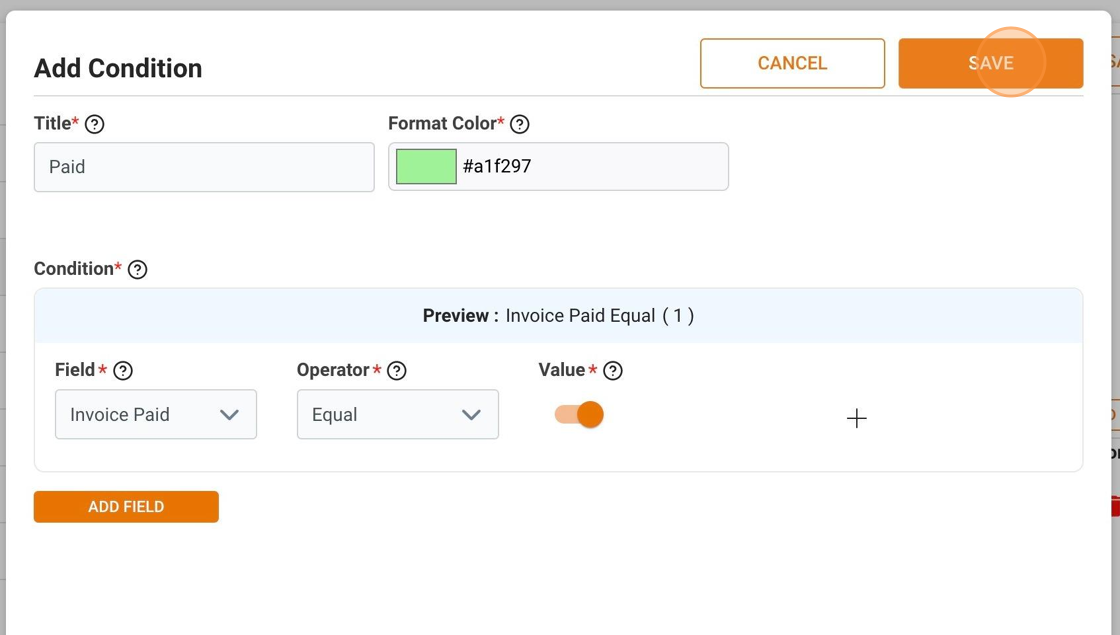
Click the 'Add Color' button. This will open a popup window.

Enter a title to describe the condition. Then click 'Format Color' to set the color that shall be applied to matching objects:

Once the outcome color is set, add rules. Remember, several criteria can be defined, which will be combined with an 'And' operator, which means, coloring will only be applied, if all criteria are being met by an object.
Rules are based on fields and are configured as follows:
- Pick a Field
- Select an Operator
- Type or choose a Value
(Available operators and values differ based on the selected field.)
The following example will highlight objects in red, where the field 'Invoice Paid', which is a toggle field, is turned off:

5. Save the Condition
In above example, only one rule is needed, but you can add more criteria to the same condition by clicking the 'Add field' button below the rule.
Once you've added all criteria for the condition, click the 'Save' button on the top right corner of the popup:

6. Add further Conditions to the same Configuration
To add another condition, click again on 'Add Color', then configure the rules and subsequent coloring as explained in the two previous steps.
In the example below, we created a condition that highlights objects in green, if the toggle-field 'Invoice Paid' is turned on:
Below configuration now reflects two conditions. As a result, the entire row of an object in the table "Sales Orders" will be color-coded either in red or green, depending on its payment status:

7. Save your Configuration
Once you have added the required coloring conditions, click on the 'Save' button in the top right corner. You will see a success message, and the Conditional Formatting will now be available for you and all selected user roles.