Configure a Filter Template for a Table

Prerna
Last Update منذ عامين
What is this article about?
- Learn how to enhance your team's efficiency by creating and sharing condition-based filter templates
Who is this article for?
- Account admins and users with the AddOn Permission to create filter templates
Introduction
Filters help you managing and analyzing large datasets in tables.
On the Logward Platform you can easily create and save advanced filters with just a few clicks. These filter template are assigned to one or more user roles. As a result, all users with the corresponding role will be able to use it.
Step-by-Step Guide
1. Navigate to the Filter Configuration
Open the table for which you want to set up a Filter Template, access the menu 'Edit' and select 'Configuration' from the toolbar:

This opens the list of all table-level configurations that are available to you, based on your role permissions.
Via the Configurations sidebar, access 'Filter'. All existing filter templates will be listed and can be edited by you from here.
To create a new template, click on the 'Add' button on the top right corner of the page:

2. Create a New Filter Template
After clicking 'Add', enter a name for the template. Then select all roles that shall be able to use this filter.
You may also add a List View to your filter template. As a result, both the filter as well as the list view will be applied, when the filter is used.
For a detailed guide on how to combine a filter and a list view, please refer to 'Configure a filtered list view'.

3. Add Filter Conditions
You can now create the filter conditions.
In the following, we will combine several conditions, to filter for 20'GP and 40'GP containers with a loading port in the US.
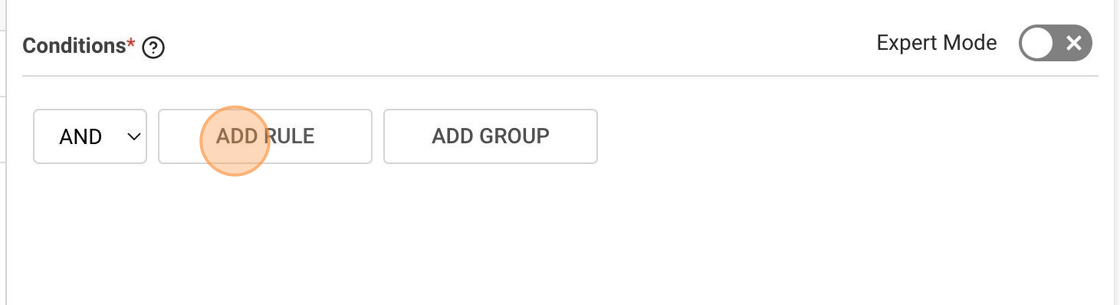
To start with the first rule click the 'Add Rule' button:
This will open the first rule which always consists of 3 fields:
- Field: Pick an adequate field for your filter operation from a dropdown list with all fields of the table
- Operator: Choose an operator from a dropdown list with all applicable operators for the data type of the selected field
- Value: Type or pick the input value based on the selected field's data type
We select the field 'Origin Port', which holds a LOCODE. Then choose the operator 'Begins with' and type the value 'US':

We can now proceed with the next rule.
Note that these rules are combined with each other via an operator, too. You can choose between:
- And: Which means that all rules have to be true for an object to show in the results
- Or: Which means that at least one of the rules has to be true for an object to show in the results
As the overarching operator allows only one selection for all rules, you can group several rules into one, to create complex conditions with more than one operator.
For our example, we now create a group that makes use of an 'Or' operator, while the overarching conditions are combined with the 'And' operator:

Within the group, you again combine rules via 'And' or 'Or' operator and use the 'add rule' button to create the criteria:

For our example, the operator 'Or' has been selected, and two rules have been added, to filter containers types that are either 20'GP or 40'GP:

4. Save your Filter Template
Once you have added all the required rules, scroll up to click on the "Save" button on the top right side of the page to save your filter configuration:

That's it! You have successfully configured a filter template with multiple rules that is easily accessible for the selected user roles.
All Filter templates will be available via the menu 'Format' in the List View. For a detailed guide, please refer to the article 'Apply a Filter Template to a Table'.